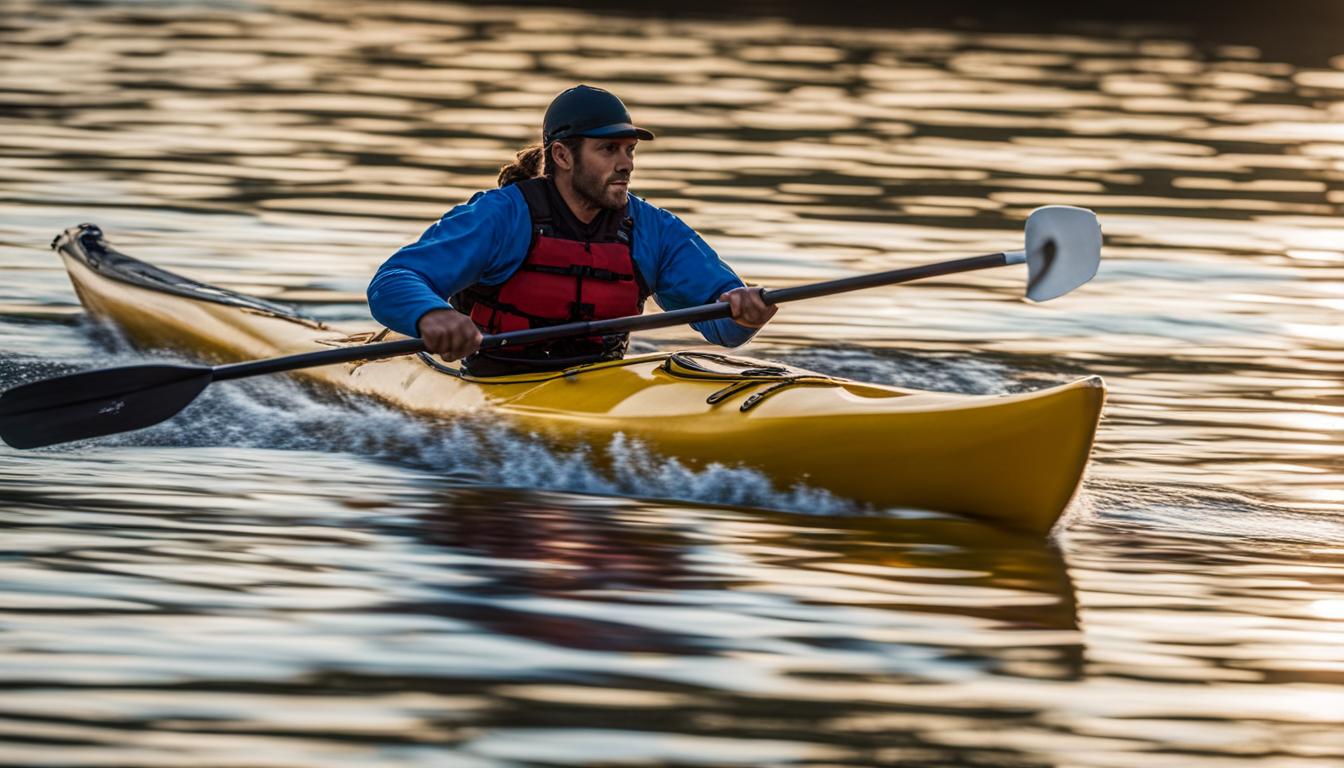
Building a kayak is an exciting project that requires careful planning and attention to detail. In this step-by-step guide, we will walk you through the process of constructing your own kayak. From choosing a design to attaching the final fittings, we will cover all the necessary steps to create your own custom kayak.
Key Takeaways
- Building a kayak involves several detailed steps and phases that require patience and attention to detail.
- Choosing the right design is crucial, considering factors such as intended use, stability, and gear capacity.
- Creating a sturdy platform and cutting the forms are the initial stages of the kayak building process.
- Stripping the hull and attaching the stems are important steps in constructing the kayak’s deck.
- By following the step-by-step guide, you can build a custom kayak that meets your specific needs and preferences.
Now, let’s dive into the detailed kayak building steps and learn how to bring your kayak to life!
Choosing a Design
When building a kayak, the first step is to choose the right design. Consider factors such as the intended use, stability, and gear capacity. Longer and narrower kayaks tend to be faster but less stable, while shorter and wider kayaks offer better stability. Additionally, consider the hull length when building a sea kayak, aiming for a length between 15 and 18 feet.
Research various design options and consult books such as “Kayak Craft” by Ted Moores and “The Strip-Built Sea Kayak: Three Rugged, Beautiful Boats You Can Build” by Nick Schade for detailed instructions. Create your own plans or purchase them from reliable sources.
Choosing the right design sets the foundation for your kayak construction journey, ensuring that the end result meets your requirements and preferences.

Key considerations:
- Intended use: Determine if you’ll be kayaking in calm lakes, rivers, or rough waters.
- Stability: Decide how important stability is to you, especially if you’re a beginner.
- Gear capacity: Consider the amount of gear you’ll need to carry on your kayaking adventures.
Expert tip:
“To ensure a successful kayak building project, take the time to research different kayak designs and their specific features. This will help you make an informed decision and create a kayak that perfectly suits your needs and preferences.”
| Design Type | Pros | Cons |
|---|---|---|
| Long and Narrow | Fast, efficient paddling | Less stability |
| Short and Wide | Excellent stability | Slower speed |
Building the Platform and Cutting the Forms
Before you begin the exciting process of building your own kayak, it is important to create a sturdy platform or long table on which to work. This will provide a stable surface for constructing your kayak. Use materials such as particle board and sawhorses to create a solid foundation.
Once your platform is ready, the next step is to transfer the hull plan outlines onto poster board and trace them onto the particle board to create the forms. These forms will serve as the templates for shaping the kayak’s hull. Use a jigsaw to cut the forms slightly oversized, and then smooth the edges with a drum sanding bit.
To ensure that the hull does not stick to the forms during construction, cover the edges of the forms with plastic packaging tape. This will create a barrier between the hull and the forms, allowing for easy removal later on.
Table: Materials for Building the Platform
| Materials | Quantity |
|---|---|
| Particle board | 1 sheet |
| Sawhorses | 2 |
| Poster board | 1 sheet |
| Plastic packaging tape | 1 roll |
By following these steps, you have successfully built the platform and cut the forms for your kayak. Now you are ready to move on to the next stage of the construction process, which involves stripping the hull and attaching the stems.
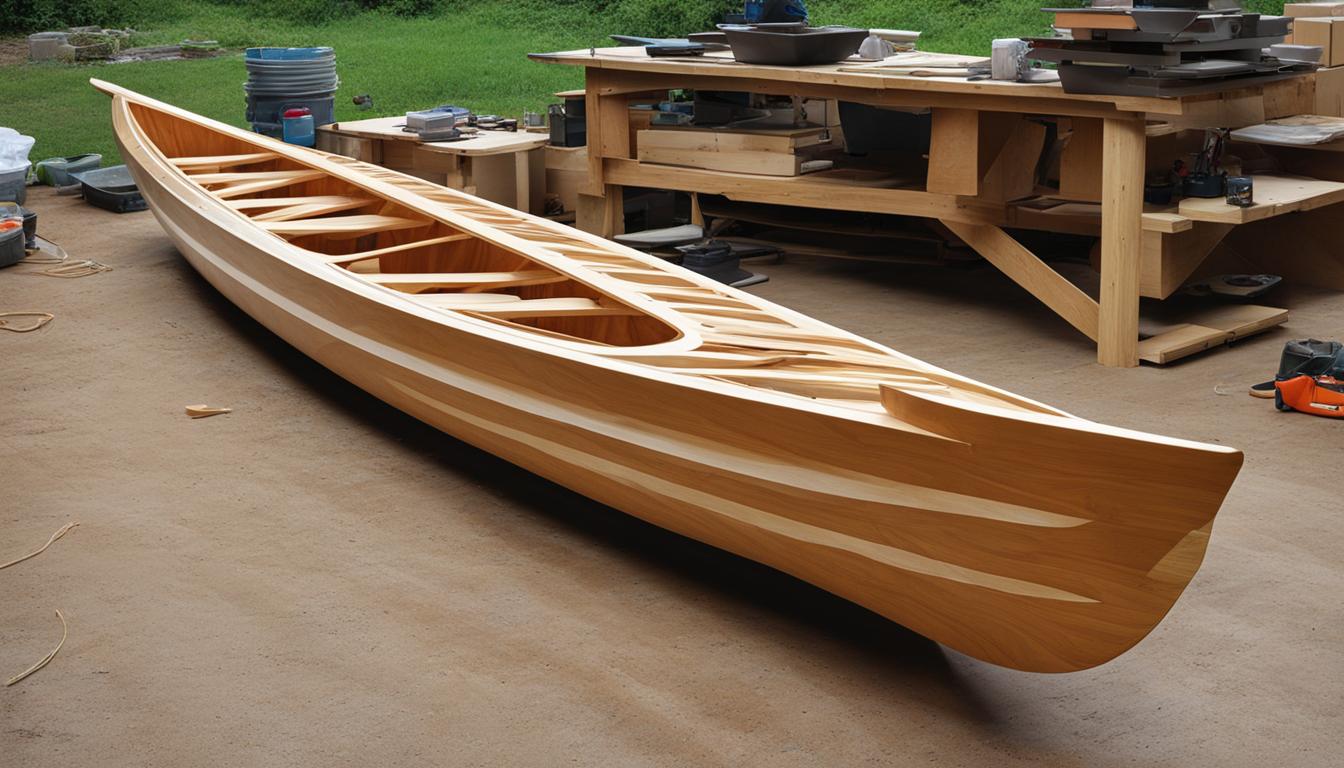
Stripping the Hull and Attaching the Stems
Now comes the exciting part – stripping the hull. Cut strips from cedar wood and mill the edges using a router table with a ¼” bead and cove bit. Glue and staple the strips to the forms, starting from the part closest to the strong back and working towards the center of the hull. Use masking tape to hold the strips together where they seem to pull apart. Once the hull is fully stripped, trim the strips flush with the bow and stern stems. Steamed strips are then clamped onto the stem forms and allowed to dry before gluing them together. Attach the stems to the stem molds, trim them with a plane, and secure them in place with screws.
To ensure the strips are securely attached, apply glue to both the stem and the strip before clamping them together. This will create a strong bond and prevent any separation during the construction process. Allow the glued sections to dry completely before moving on to the next step.
As you progress with the hull stripping, periodically check the alignment and shape of the kayak. Use a straightedge and string to ensure the hull is symmetrical and aligned properly. Make any necessary adjustments before proceeding to the next stage of construction.
Attaching the Stems
Attaching the stems is a crucial step in kayak building. The stems provide structural support and define the shape of the bow and stern. Start by preparing the stem molds according to the design specifications. Fit the stems into the molds, ensuring a tight and secure fit. Trim the stems to the desired length, using a plane to create smooth, even edges. Secure the stems to the molds using screws, ensuring they are firmly in place.
Once the stems are attached, carefully remove the stem molds, ensuring they do not damage the hull. Inspect the stems for any imperfections or rough edges, and sand them to create a smooth finish. At this stage, the hull is taking shape, and you can begin to envision the final result of your kayak construction project.
Table: Materials for Stripping the Hull and Attaching the Stems
| Materials | Quantity |
|---|---|
| Cedar wood strips | As required |
| Carpenter’s glue | 1 bottle |
| Staples | As required |
| Masking tape | 1 roll |
| Steamed strips | As required |
| Stem molds | 2 |
| Plane | 1 |
| Screws | As required |
With the hull stripped and the stems securely attached, your kayak is starting to take shape. The next section will cover the process of finishing the deck and adding the final fittings to complete your custom-built kayak.

Conclusion
Building your own kayak can be a fulfilling and rewarding experience. By following these detailed kayak construction steps, you can create a custom kayak that suits your specific needs and preferences. It’s important to approach this project with thorough planning, attention to detail, and a healthy dose of patience.
Start by choosing the right design for your kayak, considering factors such as stability, intended use, and gear capacity. Make use of resources like “Kayak Craft” by Ted Moores and “The Strip-Built Sea Kayak: Three Rugged, Beautiful Boats You Can Build” by Nick Schade to guide you through the process.
Once you have a design in mind, it’s time to start building. Create a stable platform or long table to work on, transfer the outlines onto poster board, and cut the forms for your kayak. With the forms in place, you can begin stripping the hull and attaching the stems. Take your time to ensure a tight and secure fit.
Remember, each step in the kayak building checklist contributes to the final result. Whether it’s choosing the design, cutting the forms, stripping the hull, or attaching the final fittings, give each step the attention it deserves. So grab your tools, get creative, and enjoy the journey of building your very own kayak!
FAQ
Are there any specific design considerations when choosing a kayak to build?
Yes, factors such as intended use, stability, and gear capacity should be taken into account. Longer and narrower kayaks tend to be faster but less stable, while shorter and wider kayaks offer better stability. For sea kayaks, aim for a length between 15 and 18 feet.
Are there any recommended resources for kayak design plans?
Yes, we recommend consulting books such as “Kayak Craft” by Ted Moores and “The Strip-Built Sea Kayak: Three Rugged, Beautiful Boats You Can Build” by Nick Schade. These books provide detailed instructions and guidance for building your own kayak.
How should I prepare the work surface for building a kayak?
You will need to create a sturdy platform or long table using materials such as particle board and sawhorses. This will provide a stable work surface for constructing your kayak.
What materials are needed for stripping the hull?
You will need cedar wood strips, a router table with a ¼” bead and cove bit for milling the edges, glue and staples for attaching the strips to the forms, and masking tape for holding the strips together. Additionally, you will need plastic packaging tape to cover the edges of the forms to prevent sticking.
How do I attach the stems to the stem molds?
The stems are attached to the stem molds by trimming them with a plane and securing them in place with screws. This helps to shape and strengthen the bow and stern of the kayak.