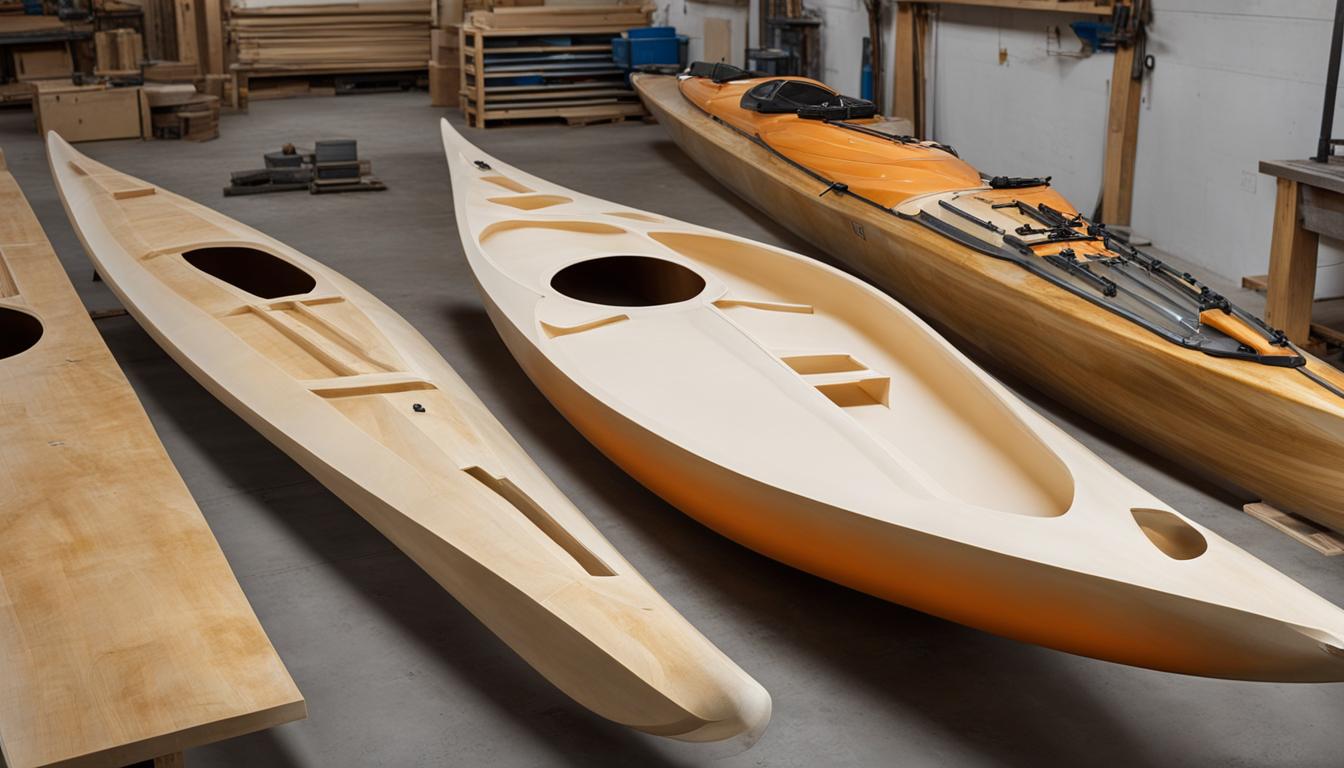
When building your own kayak, mastering the use of DIY kayak resin and fiberglass is crucial. These materials are essential for creating a durable and custom kayak at home. By understanding the techniques and methods involved in working with resin and fiberglass, you can ensure the success of your DIY kayak project.
Key Takeaways:
- DIY kayak resin and fiberglass are vital for building a strong and customized kayak at home.
- Proper cleanup and preparation of the kayak and workspace are essential for effective resin application.
- The saturation coat is a critical step that involves saturating the fiberglass cloth with epoxy resin.
- Filling and finishing coats of resin help create a smooth and glossy surface on the kayak.
- Woodstrip-epoxy and stitch-and-glue are popular techniques for DIY kayak building.
Cleanup and Preparation
Before you begin applying resin and fiberglass to your DIY kayak, it is crucial to properly clean up your workspace and prepare the kayak for the process. By taking the necessary steps to ensure a clean and warm environment, you can set yourself up for success in achieving a strong and durable kayak construction.
Start by removing any debris, dust, or other contaminants from your workspace. This will help prevent these particles from interfering with the epoxy application and potentially compromising the quality of your kayak. Wipe down surfaces and vacuum any loose particles to create a clean and smooth working area.
In addition to cleaning, it is important to warm up both the workspace and the materials you’ll be using. Epoxy resin is typically more effective when applied in a warm environment, as it helps to reduce viscosity and improves flowability. You can achieve this by turning up the heat in your workspace or using a heat gun to warm up the kayak surface and the resin before application.
Table: Recommended Cleanup and Preparation Steps
| Step | Description |
|---|---|
| 1 | Clear the workspace of debris and dust. |
| 2 | Wipe down surfaces and vacuum any loose particles. |
| 3 | Warm up the workspace and materials. |
By following these cleanup and preparation steps, you can ensure that your DIY kayak construction starts off on the right foot. A clean and warm environment allows for better resin application and ultimately leads to a stronger and more successful kayak build.
The Saturation Coat
Once you have prepared your workspace and kayak for the resin and fiberglass application, it’s time to move on to the crucial step of the saturation coat. The saturation coat involves saturating the fiberglass cloth with epoxy resin to ensure proper adhesion and strength in your kayak construction. This coat forms the foundation for the rest of the resin work and is essential for creating a durable and reliable kayak.
Mixing the epoxy resin according to the manufacturer’s instructions is of utmost importance. Properly measuring the resin and hardener and thoroughly stirring them together will ensure a consistent and effective mixture. Once the epoxy is mixed, you need to work quickly to apply it to the entire surface of the kayak. Using a brush or roller, spread the resin evenly, making sure to cover every inch of the fiberglass cloth.
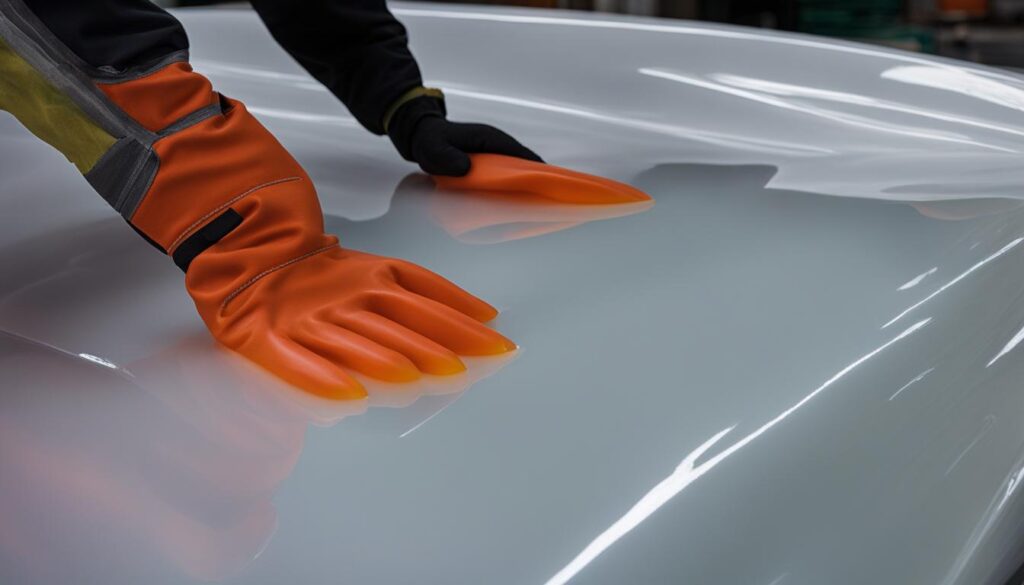
After applying the resin, use a squeegee to remove any excess and ensure an even distribution. This step is crucial because excess resin can lead to weight and performance issues in your kayak. Smooth out any air bubbles or wrinkles in the fiberglass cloth by gently running the squeegee over the surface. The goal is to achieve a uniform, glossy appearance.
Fiberglass Cloth Weight
| Fiberglass Cloth Weight | Recommended Usage |
|---|---|
| 6 oz | Common weight for general-purpose kayak construction |
| 10 oz | Provides extra strength and durability for rough water conditions |
| 18 oz | Heavy-duty weight for extreme conditions and heavy use |
Remember, the saturation coat is just the first step in using epoxy resin in kayak construction. Once it has cured and hardened, you will need to apply filling and finishing coats to achieve a smooth and polished surface. The saturation coat sets the stage for these subsequent steps and ensures the strength and integrity of your kayak. With careful attention to detail and proper technique, you can create a high-quality kayak using epoxy resin and fiberglass.
Filling and Finishing Coats
Once you have applied the saturation coat of resin and fiberglass to your DIY kayak, the next step is to apply the filling and finishing coats. These coats are crucial for ensuring a smooth and polished appearance while also filling in any gaps or imperfections in the fiberglass.
The filling coats involve applying a thicker layer of epoxy to fill the weave of the fabric and force epoxy into low spots. This helps create a strong and even surface on the kayak. It is important to apply the filling coats in multiple layers, allowing each layer to cure before applying the next. This ensures a consistent and sturdy finish.
After the filling coats, the finishing coats are applied to further obscure the fabric texture and create a polished appearance. These coats are thinner and are used to achieve a smooth and glossy finish on the kayak. It is important to apply the finishing coats evenly and avoid any drips or uneven surfaces.
Table: Comparison of Filling and Finishing Coats
| Filling Coats | Finishing Coats | |
|---|---|---|
| Thickness | Thicker layer | Thinner layer |
| Purpose | Filling gaps and low spots | Creating a smooth and glossy finish |
| Application | Multiple layers, allowing each layer to cure before applying the next | Even and consistent application |
To achieve the best results with filling and finishing coats, it is important to follow the manufacturer’s instructions for the specific epoxy resin you are using. This includes proper mixing ratios, curing times, and application techniques. Additionally, using techniques such as heat gunning can help eliminate any air bubbles and improve the overall finish of your DIY fiberglass kayak.
By mastering the process of applying filling and finishing coats, you can create a professional-looking finish on your DIY fiberglass kayak. This not only enhances the visual appeal of your kayak but also ensures its durability and longevity. With a smooth, polished surface, your kayak will be ready to take on any adventure on the water.
Different Techniques for DIY Kayak Building
When it comes to building your own kayak, there are different techniques you can choose from based on your preferences and skill level. Two popular methods are woodstrip-epoxy and stitch-and-glue. Let’s take a closer look at each technique:
Woodstrip-Epoxy
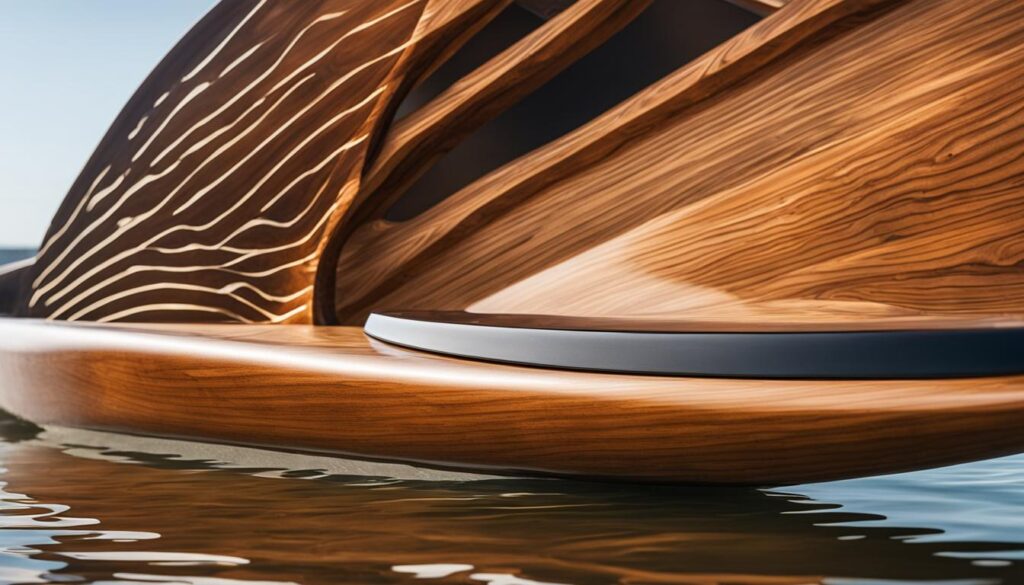
The woodstrip-epoxy technique involves using narrow strips of wood that are attached to a strongback and covered with fiberglass and epoxy resin. This method allows for the creation of beautiful and lightweight kayaks with stunning wooden finishes. By carefully bending and shaping the wood strips, you can create unique kayak designs that are both functional and visually appealing.
To begin with, you’ll need to select the type of wood that best suits your needs. Common wood choices include cedar, mahogany, and pine. The wood strips are then glued and clamped together to form the kayak’s structure. Once the strips are in place, fiberglass cloth is applied and epoxy resin is used to bond everything together. This technique offers flexibility in terms of design and allows you to create a kayak that reflects your personal style.
Stitch-and-Glue
The stitch-and-glue technique is another popular method for DIY kayak building. It involves using precision-cut plywood panels that are temporarily sewn together and then bonded with epoxy. This technique is particularly suitable for beginners and those looking for a simpler construction process.
To start, you’ll need to obtain the plywood panels, which can be easily purchased from a local supplier or online. The panels are then cut using a specific design pattern that matches your desired kayak shape. Once the panels are cut, they are stitched together using wire or zip ties. Epoxy resin is then applied to the inside and outside of the panels to create a strong and waterproof bond. This technique offers ease of assembly and allows for quick modifications or repairs if needed.
Both the woodstrip-epoxy and stitch-and-glue techniques have their advantages and can result in beautiful, functional kayaks. The choice ultimately depends on your skill level, desired design, and the amount of time you’re willing to invest. Whether you opt for the natural beauty of wood or the simplicity of plywood, these techniques empower you to create your own personalized kayak and embark on thrilling adventures on the water.
Conclusion
Mastering the use of resin and fiberglass empowers DIY kayak builders to achieve professional results. These techniques are key to constructing durable and customized kayaks in the comfort of your own home. Additionally, exploring various kayak building methods, such as woodstrip-epoxy and stitch-and-glue, provides flexibility and options for kayak enthusiasts. Whether you’re looking to build a new kayak or repair any fiberglass and resin damage, these skills are invaluable.
By embracing resin and fiberglass techniques, you can unlock your potential to create and maintain high-quality kayaks. The ability to repair any damage that may occur ensures the longevity of your vessel. So, go ahead and dive into the world of DIY kayak construction—it’s a rewarding and fulfilling journey.
Remember, with the right knowledge and skills, you have the capability to craft your dream kayak and explore the waters with confidence. So get started, hone your techniques, and enjoy the freedom and excitement that comes with being a DIY kayak builder.
FAQ
What materials do I need for DIY kayak resin and fiberglass work?
To work with resin and fiberglass for DIY kayak construction, you will need epoxy resin, fiberglass cloth, a squeegee, mixing containers, and gloves for protection.
How do I prepare my workspace for resin and fiberglass application?
Before applying resin and fiberglass, it’s important to clean up your workspace by removing any debris or dust. Additionally, warming up the area and materials can improve the effectiveness of the resin.
What is the “saturation coat” in kayak construction?
The saturation coat involves saturating the fiberglass cloth with epoxy resin to ensure proper adhesion and strength. It’s important to mix the epoxy properly and quickly apply it to the entire surface of the kayak.
What are filling and finishing coats in resin and fiberglass work?
Filling coats involve applying a thicker layer of epoxy to fill in gaps or imperfections in the fiberglass. Finishing coats are applied to create a smooth and glossy surface on the kayak.
What are the different techniques for DIY kayak building?
Two popular techniques are woodstrip-epoxy, which involves using wood strips covered with fiberglass and epoxy resin, and stitch-and-glue, which utilizes precision-cut plywood panels bonded with epoxy.
Can I repair fiberglass and resin damage on my kayak?
Yes, with the right knowledge and skills, you can repair fiberglass and resin damage on your kayak. Understanding resin and fiberglass techniques will help you in the repair process.

