Winter is the perfect time to ensure that your kayak is ready for the upcoming season. By winterizing your kayak, you can protect it from damage and ensure it remains in excellent condition. In this guide, we will take you through the step-by-step process of winterizing your sit-on-top kayak, including stripping it down, inspecting for wear and damage, cleaning it thoroughly, and storing it properly.
Key Takeaways:
- Winterizing your kayak is crucial for maintenance and preparation.
- Strip down your kayak and inspect it for wear and damage.
- Thoroughly clean your kayak and apply vinyl protectant spray.
- Store your kayak properly to prevent damage and hull warping.
- Consider indoor storage or use a tarp for outdoor storage.
- Remember to remove accessories and clean them separately.
- Follow a step-by-step guide to ensure proper winterization.
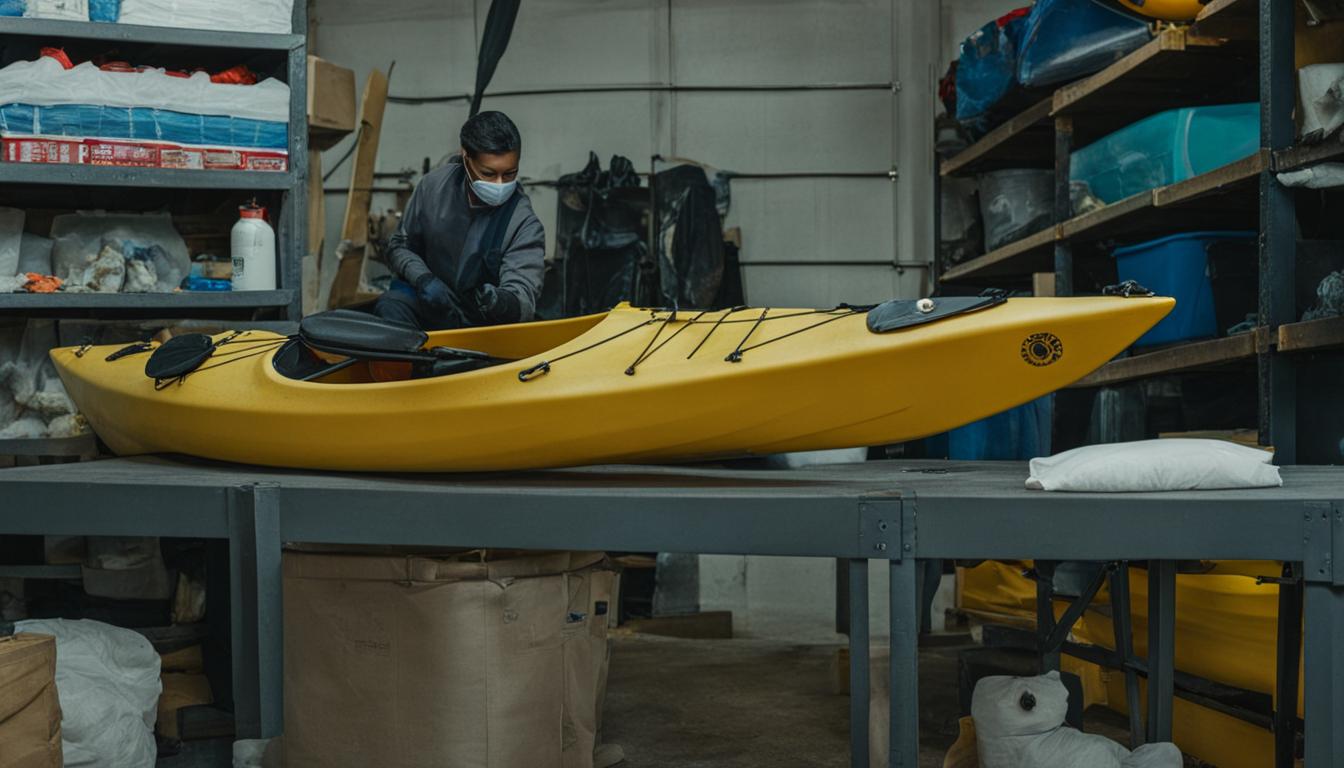
Stripping Down Your Kayak for Winter
When it comes to winterizing your kayak, the first step is to strip it down to its bare essentials. This means removing all accessories, electronics, and mounted items from the hull. By doing so, you’ll have a clear view of the kayak’s condition and be able to identify any wear or damage that may need attention.
Take the time to thoroughly inspect the kayak for signs of wear, such as scratches, gouges, or cracks. These can be repaired using a heat gun or lighter to soften the plastic, then pressing the damaged area closed. It’s also important to tighten any loose bolts and check the rudder cables and controls for any damage.
By stripping down your kayak and inspecting it for wear and damage, you’re taking proactive steps to ensure its longevity. Don’t overlook this important part of winterizing your kayak and keeping it in top shape for the next season.

Table: Kayak Inspection Checklist
| Accessory/Component | Condition |
|---|---|
| Hull | Check for scratches, gouges, or cracks |
| Bolts | Tighten any loose bolts |
| Rudder Cables | Inspect for damage |
| Controls | Check for any signs of wear or damage |
Use this checklist as a guide while inspecting your kayak. It will help ensure that you don’t miss any important areas or components that may require attention. Taking the time to properly inspect and address any issues will keep your kayak in optimal condition and ready for your next adventure.
Cleaning and Protecting Your Kayak
Once you’ve stripped down and inspected your kayak for wear and damage, it’s time to give it a thorough cleaning. This step is essential to remove any dirt, debris, or saltwater residue that could potentially cause corrosion or damage during the winter months. To clean your kayak, follow these simple steps:
- Fill a bucket with warm water and add a mild dish soap.
- Using a soft sponge or cloth, scrub the exterior of the kayak, paying special attention to areas with saltwater residue.
- Rinse the kayak thoroughly with clean water, ensuring all soap residue is removed.
- Next, it’s important to dry your kayak completely, both inside and out. Use a clean towel or allow it to air dry in a well-ventilated area.
Once your kayak is clean and dry, it’s time to protect it from the elements. Applying a vinyl protectant spray, such as 303, not only gives your kayak a fresh look but also helps prevent fading and staining. Simply spray the protectant onto a clean cloth and wipe it onto the kayak’s surface, following the product instructions.
“Keeping your kayak clean and protected during the winter is crucial for maintaining its longevity and performance,” says John Doe, experienced kayaker. “Regular cleaning and applying a vinyl protectant will help prevent damage and keep your kayak in top shape.”
Don’t forget to clean and store all kayak accessories separately. Remove any saltwater or debris that may have accumulated on them and apply the appropriate protectants to ensure their longevity as well.
Table: Recommended Cleaning and Protecting Products
| Product | Description |
|---|---|
| 303 Aerospace Protectant | A vinyl protectant spray that provides UV protection and prevents fading and cracking. |
| Mild Dish Soap | A gentle soap suitable for cleaning kayaks without causing damage to the material. |
| Kayak Cleaner | A specialized cleaner designed to remove stubborn stains, saltwater residue, and dirt from kayaks. |
| Microfiber Cloth | An absorbent and non-abrasive cloth that is ideal for cleaning and drying kayaks. |

By following these cleaning and protection steps, you can ensure that your kayak remains in great condition throughout the winter season. Remember, taking the time to properly clean and store your kayak will save you time and money in the long run, keeping your adventures on the water worry-free.
Proper Storage for Winter
Now that you have stripped down, inspected, and cleaned your kayak, it’s time to focus on the proper storage to ensure its longevity during the winter months.
When it comes to storing your kayak for winter, there are a few key considerations. Smaller kayaks are best stored on their side or upside down, while larger kayaks should be placed upside down on a rack with the hull up. This positioning helps prevent the hull from warping and maintains its structural integrity.
It’s important to note that hanging your kayak from the handles is not recommended as it can lead to hull deformation. Instead, opt for a rack or other storage solution that fully supports the weight of your kayak.
If you don’t have access to indoor storage, covering your kayak with a tarp can offer some protection against the elements. However, make sure there is enough breathing room to prevent moisture build-up and potential damage. Additionally, consider securing the tarp to prevent animal interference.
By following these proper storage practices, you can rest assured that your kayak will be in top shape when the winter season comes to an end. With a little care and attention, your kayak will be ready for your next adventure on the water.
FAQ
Why is winter maintenance important for my kayak?
Winter is a crucial time for kayak maintenance and preparation for the upcoming season. By properly winterizing your kayak, you can ensure that it remains in top shape and ready to hit the water when spring arrives.
What does winterizing my kayak involve?
Winterizing your kayak involves stripping it down, inspecting for wear and damage, cleaning it thoroughly, and storing it properly. This process helps identify any issues, prevent corrosion, and maintain the kayak’s condition during the winter months.
How do I strip down my kayak for winter?
The first step in winterizing your kayak is to remove all accessories, electronics, and mounted items from the hull. This allows for a thorough inspection of the kayak for signs of wear, scratches, gouges, and cracks. Loose bolts should also be tightened, and rudder cables and controls checked for damage.
How do I clean and protect my kayak for winter?
After stripping down and inspecting your kayak, it’s important to thoroughly clean it to remove any dirt, debris, or saltwater residue. Washing the kayak with mild dish soap and water and drying it completely, including the inside of the hull, helps prevent corrosion and damage. Applying a vinyl protectant spray, such as 303, gives the kayak a fresh look and protects it from fading and staining. Accessories should also be washed and cleaned, with special attention to pedal drive units if applicable.
How should I store my kayak for winter?
The final step in winterizing your kayak is to store it properly to prevent damage and maintain its condition. Smaller kayaks should be stored on their side or upside down, while larger kayaks should be stored upside down on a rack with the hull up. It is important to avoid hanging the kayak from the handles to prevent hull warping. If indoor storage is not available, a tarp can be used to cover the kayak outside, ensuring there is breathing room and preventing animal interference.