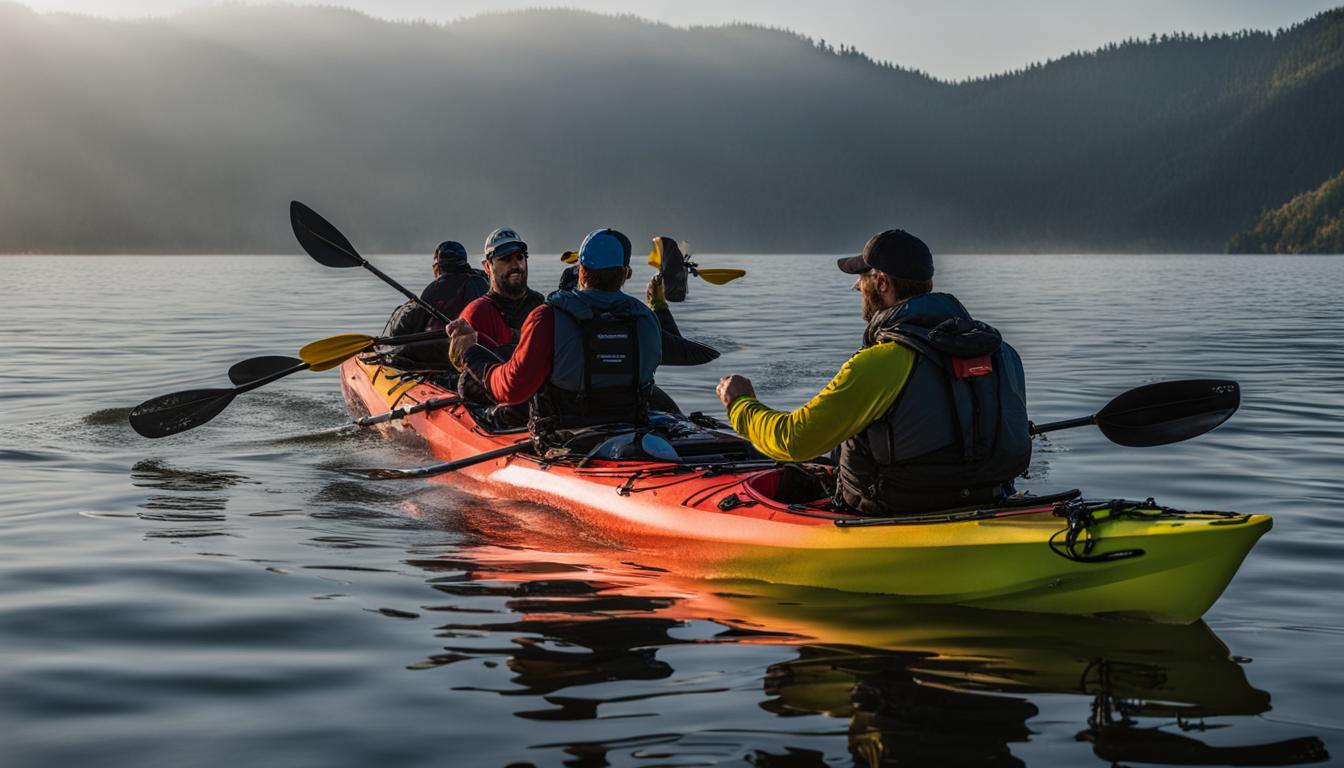
Welcome to our guide on T-rescue basics, providing beginner instructions and practice tips for kayak safety. Capsizing can happen unexpectedly, even in calm conditions. It’s essential to know how to perform a T-rescue to ensure the safety of yourself and others. In this section, we’ll walk you through the step-by-step process of executing a T-rescue, providing you with the confidence to handle a capsized kayak.
Key Takeaways:
- Learning the T-rescue is crucial for kayak safety.
- Practice the T-rescue technique with an experienced guide or instructor.
- Mastering the T-rescue helps develop your underwater relaxation and hip snap skills.
- Always prioritize safety by wearing appropriate gear and being aware of water conditions.
- Consider taking classes or seeking instruction from kayak specialty shops and clubs.
First Steps After Capsizing
After capsizing in your kayak, it is important to know the first steps to take in order to ensure your safety. One of the most crucial actions to perform is a wet exit from the kayak. This involves safely exiting the kayak while it is overturned in the water. To initiate a wet exit, remain calm and focused. The next step is for the rescuer, who should paddle towards the front of the overturned boat and position their kayak perpendicular to the bow of the capsized kayak.
Now comes the process of righting the kayak and removing the water from it. The swimmer, who is still in the water, swims to the back of the overturned boat. With the rescuer’s assistance, the swimmer pushes down on the back of the kayak while simultaneously the rescuer lifts and slides the bow of the capsized kayak onto their own kayak. This teamwork allows the duo to slide the overturned kayak and empty the water from its cockpit, before setting it back on the water in the correct position.
These first steps after capsizing are essential for maintaining your safety and preparing for the next stages of the rescue process. By following these instructions and working together with a rescuer, you can efficiently right the kayak and ensure it is free of water, allowing you to continue your kayaking adventure.
Table: First Steps After Capsizing
| Steps | Actions |
|---|---|
| 1 | Perform a wet exit from the kayak. |
| 2 | The rescuer positions their kayak perpendicular to the bow of the capsized kayak. |
| 3 | The swimmer pushes down on the back of the capsized kayak while the rescuer lifts and slides the bow onto their kayak. |
| 4 | The duo slides the overturned kayak to empty the water from its cockpit and sets it back on the water. |
With these initial steps completed, you’ll be ready to move on to the next stages of the rescue process. Stay tuned for more instructions and techniques to ensure your kayak safety.
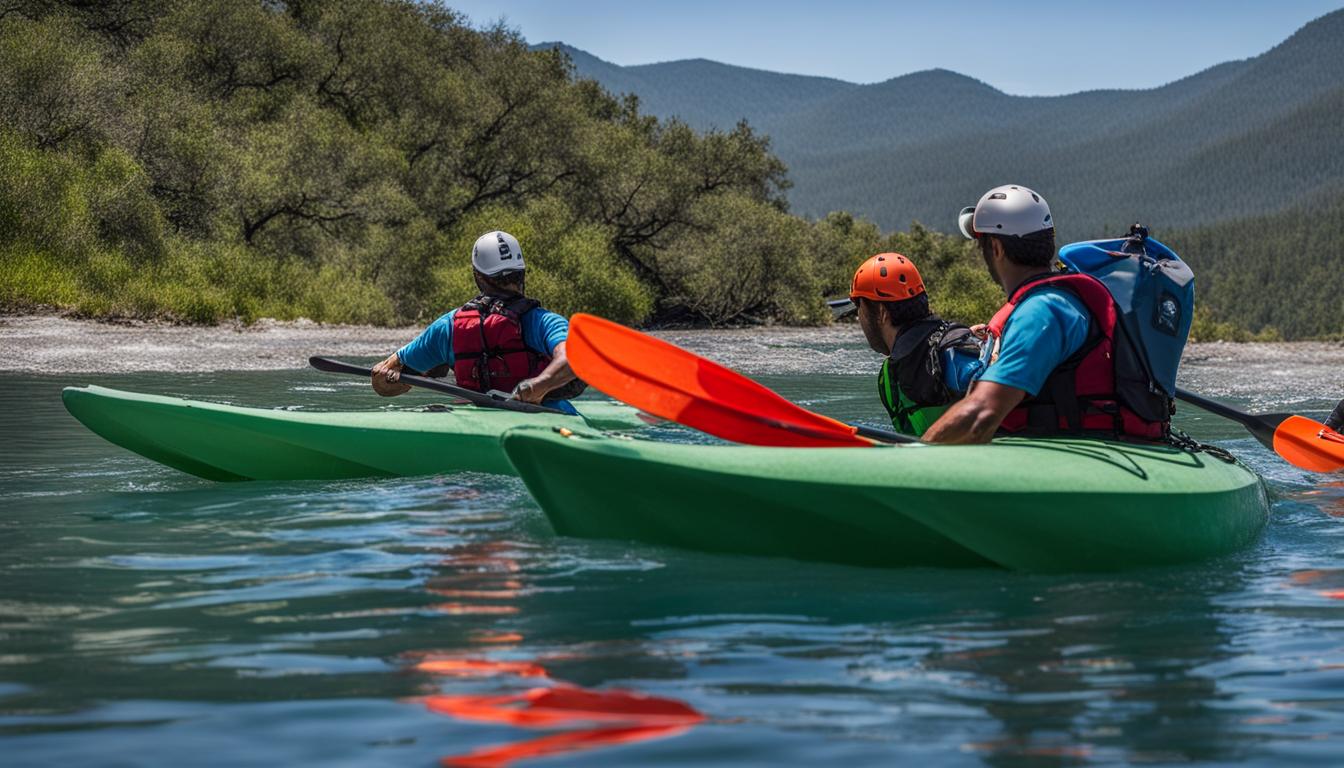
Repositioning the Kayaks
After successfully righting the capsized kayak, the next step is to create a stable platform for re-entry. This ensures the safety and comfort of both the rescuer and the swimmer. To achieve this, the rescuer should reposition their kayak parallel to the righted boat, with the bow next to the stern of the capsized kayak. This alignment provides stability and minimizes any unnecessary movement.
Once the kayaks are properly aligned, the rescuer takes the swimmer’s paddle and places it on the boat decks. This prevents the paddle from floating away and keeps it within reach for the swimmer. It’s essential to have all necessary equipment easily accessible during the re-entry process.
To further stabilize the kayaks, the rescuer leans in and grabs the back of the cockpit coaming and the static deck lines on the far side of the upright boat. This grip provides a firm hold and ensures that the kayaks remain in position. It’s important to maintain this stability as the swimmer prepares to re-enter the boat.

The repositioning of the kayaks creates a stable platform for the swimmer to safely return to their cockpit. With the right alignment and a secure grip, the rescuer can effectively support the swimmer during the re-entry process. This crucial step sets the foundation for a successful rescue and emphasizes the importance of maintaining a stable platform throughout the T-rescue technique.
Reboating the Swimmer
Once the capsized kayak has been righted and stabilized, the next step is to reboat the swimmer back into the cockpit. This process requires coordination and careful execution to ensure a smooth transition. Here’s how to safely reboat the swimmer after a capsizing incident.
Step 1: Getting Positioned
To begin, the swimmer should grab onto the static deck lines or coaming on the far side of the cockpit. Using a combination of core strength and leg power, the swimmer kicks hard to propel themselves out of the water and onto the boat, landing belly-first facing the stern. This initial landing provides stability and a secure position to start the reboating process.
Step 2: Sliding Back into the Cockpit
With both boats acting as support, the swimmer lifts their legs out of the water and slides them backward into the cockpit. Keeping their balance and using the stability of the boats, the swimmer sits upright in the cockpit. It’s essential to maintain stability and control throughout this step to prevent any potential instability or capsizing.
Step 3: Finalizing the Reboating
After the swimmer is securely seated in the cockpit, the rescuer can release their boat, allowing it to separate from the swimmer’s boat. The swimmer then removes any excess water from the cockpit using a bilge pump or sponge. Finally, they reattach the spray skirt and retrieve their paddle from the rescuer, ensuring they are fully prepared to continue their journey.
Reboating the swimmer is a critical part of the T-rescue technique, and mastering this skill is essential for kayak safety. By practicing the steps outlined above, paddlers can efficiently and effectively reboat themselves after a capsizing incident, allowing them to stay safe and confident on the water.
Advanced Rescues
Once you have mastered the basics of the T-rescue, there are other advanced variations that you can learn to enhance your kayak safety techniques. These techniques provide additional options for self-rescue and can be valuable in more challenging conditions. In this section, we will explore two of these advanced rescues: self-rescue using a paddle float and the roll.
Self-Rescue with Paddle Float
The self-rescue with a paddle float is a technique that can be used when you capsize and are unable to re-enter your kayak. To perform this rescue, you will need a paddle float, which is an inflatable device that attaches to the blade of your paddle. After capsizing, you inflate the paddle float and secure it to one end of your paddle. Then, you place the paddle float on the water and position yourself next to it. By using the paddle as a stabilizing outrigger, you can climb back into your kayak and pump out any water.
The Roll
The roll is an advanced kayak rescue technique that allows you to right your kayak without exiting it. It involves using your body and paddle to roll your kayak upright while remaining in the cockpit. The roll requires precise body movements and timing, as well as a strong hip snap. This technique is more complex and requires significant practice to master, but it can be an invaluable skill for kayakers navigating rough water or whitewater conditions.
Remember, these advanced rescues should be learned and practiced under the guidance of a qualified instructor. They require more advanced skills and experience, as well as a thorough understanding of water dynamics. Taking classes at REI stores or seeking instruction from kayak specialty shops and clubs in your area can provide you with the necessary guidance and resources to learn these techniques safely and effectively.

The table below compares the different advanced rescue techniques:
| Rescue Technique | Description | Advantages | Disadvantages |
|---|---|---|---|
| Self-Rescue with Paddle Float | Uses a paddle float to stabilize and re-enter the kayak | Can be performed without assistance, useful in calm conditions | Requires a paddle float and practice to perfect the technique |
| The Roll | Uses body and paddle movements to roll the kayak upright | Allows for quick recovery without exiting the kayak | Requires advanced skills and practice to execute correctly |
How to Perfect the T-Rescue Technique
The T-rescue is a vital skill to refine in order to ensure kayak safety. It allows you to practice your hip snap and remain calm underwater. With the assistance of a rescuer, you can deliberately flip yourself upside down and utilize their kayak’s bow for stabilization. By executing a precise hip snap, you can effortlessly roll yourself back upright, ready to continue your paddling journey. To hone this technique, it is essential to practice in safe whitewater environments and perfect your roll form.
Mastering the Hip Snap
The key to a successful T-rescue lies in perfecting your hip snap. This powerful movement generates the force needed to roll your kayak upright from an inverted position. To develop a strong hip snap, focus on engaging your core muscles and driving your hips forward while maintaining a solid grip on your paddle. Practice this motion repeatedly, both in and out of the water, until it becomes second nature. By mastering the hip snap, you’ll be able to execute the T-rescue with efficiency and confidence.
“The T-rescue is an invaluable technique for kayakers, enabling them to regain control after a capsize. It’s important to refine this skill through practice and instruction, as it requires coordination, strength, and a deep understanding of your kayak. With dedication and perseverance, you can perfect the T-rescue and enhance your overall kayaking safety.”
Seeking Proper Instruction and Guidance
To refine your T-rescue technique, it is highly recommended to seek guidance from experienced instructors or kayak safety experts. Enroll in classes at reputable outdoor stores like REI or seek instruction from local kayaking clubs and specialty shops. These resources can provide valuable insights, hands-on training, and personalized feedback to help you perfect your T-rescue and navigate challenging situations effectively. Remember, learning from professionals not only enhances your skills but also promotes greater safety awareness and preparedness on the water.
| Steps to Perfecting the T-Rescue | Tips |
|---|---|
| 1. Practice the hip snap motion on dry land | – Engage your core and drive your hips forward |
| 2. Seek instruction from experienced professionals | – Enroll in kayak safety classes at outdoor stores or local clubs |
| 3. Utilize a rescuer’s kayak bow for stability | – Communicate effectively with your rescuer for optimal support |
| 4. Refine your roll form and technique | – Practice rolling upright in controlled whitewater environments |
| 5. Build strength and coordination through regular practice | – Incorporate T-rescue drills into your kayaking routine |
By following these steps and investing time and effort into refining your T-rescue technique, you’ll gain the necessary skills to handle capsizes with confidence and ensure your safety while kayaking.
Importance of Practice and Safety Precautions
When it comes to kayak safety, it is crucial to understand the importance of practice and safety precautions. Whether you are a beginner learning the T-rescue technique or an experienced paddler, regular practice in a controlled environment is key to developing and maintaining the necessary skills to handle emergencies effectively.
Practicing the T-rescue technique in a safe and controlled environment allows you to familiarize yourself with the steps involved and build muscle memory. By repeating the T-rescue in calm conditions, you can fine-tune your technique, ensuring that you can execute it confidently and efficiently when faced with a real-life capsizing situation.
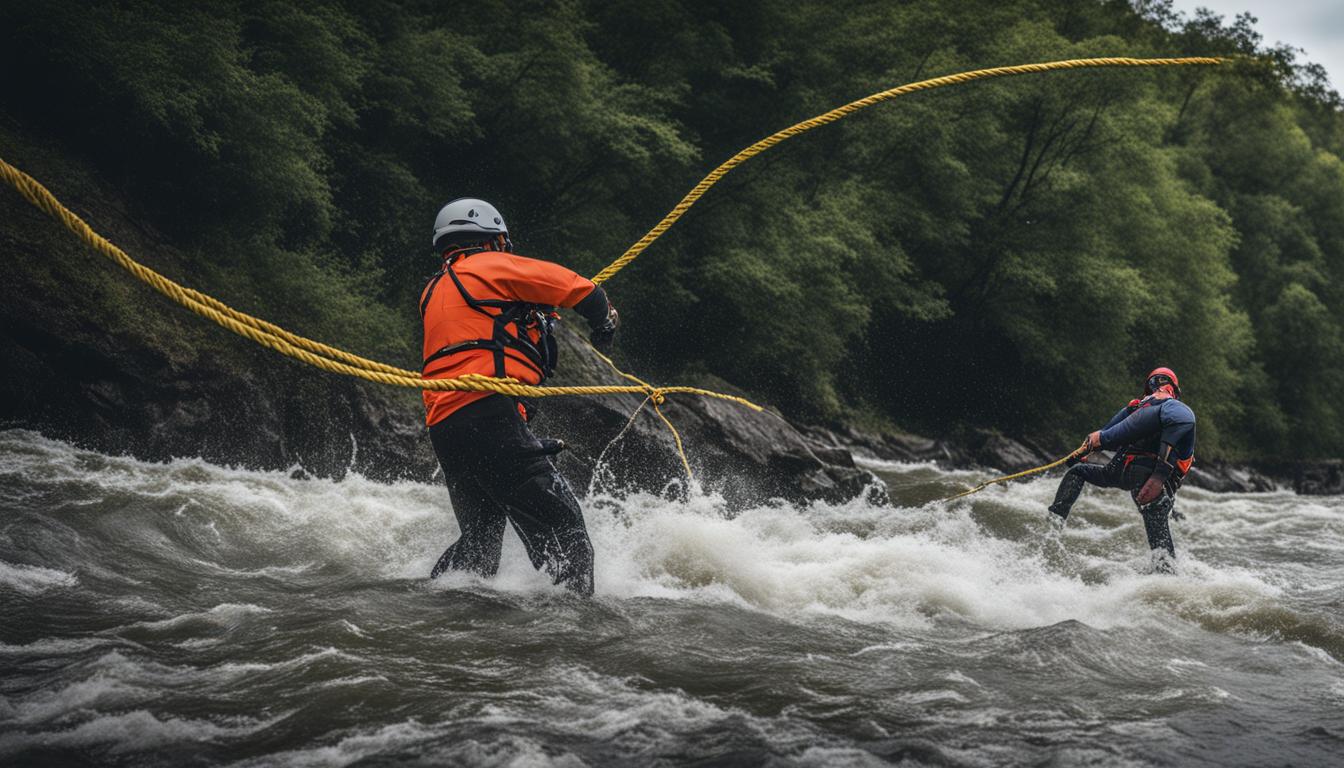
Additionally, practicing kayak safety precautions is essential to mitigate risks and ensure a safe paddling experience. Always wear a personal flotation device (PFD) that fits properly and is U.S. Coast Guard-approved. It is also advisable to wear a helmet and protective clothing, especially when paddling in whitewater or challenging conditions.
Before heading out on the water, be sure to check the weather forecast and water conditions. Avoid paddling in adverse weather conditions or when there are strong currents or high waves. It is also important to inform someone about your paddling plans, including your intended route and estimated return time.
Remember, safety should always be a top priority when kayaking. By practicing the T-rescue technique and adhering to safety precautions, you can enjoy your paddling adventures with confidence, knowing that you are well-prepared to handle any potential emergencies that may arise.
Additional Safety Precautions:
- Know your limits and paddle within your skill level.
- Stay hydrated and bring essential supplies, such as water, snacks, and sunscreen.
- Be aware of local regulations and obey any navigational rules.
- Practice self-rescue techniques, such as using a paddle float and the roll, to enhance your safety skills.
- Consider taking a kayaking safety course or joining a kayaking club to learn from experienced instructors and fellow paddlers.
Conclusion
Mastering the T-rescue technique is crucial for ensuring kayak safety. By learning and practicing this skill in a controlled environment with an experienced instructor, you can gain the confidence and ability to handle capsizes and perform efficient rescues. Remember to always prioritize your safety and the safety of others while kayaking.
It is important to practice the T-rescue technique regularly to maintain proficiency and build muscle memory. Additionally, consider taking classes or seeking guidance from kayak specialty shops and clubs to learn advanced rescue variations like the self-rescue using a paddle float and the roll.
When kayaking, always wear appropriate safety gear, such as a personal flotation device, and stay aware of the risks associated with different water conditions. By following these kayak safety tips and continually improving your skills, you can enjoy your kayaking adventures with peace of mind, knowing that you are prepared to handle any unexpected situations that may arise.
FAQ
Are capsizes common even in calm conditions?
Yes, capsizes can happen even in calm conditions.
What are the steps to perform a T-rescue?
The steps for a T-rescue are as follows: the swimmer alerts the rescuer about the capsize, the rescuer paddles to the front of the capsized boat, the pair slide the swimmer’s boat onto the rescuer’s boat deck, they flip the swimmer’s boat and reorient the boats bow-to-stern, the rescuer stabilizes the boats, the swimmer kicks out of the water and belly flops onto the rear boat deck, and the swimmer slides their legs into the cockpit and pumps out remaining water.
Should I learn and practice the wet exit and T-rescue with an experienced guide or instructor?
Yes, it is recommended to learn and practice the wet exit and T-rescue with an experienced guide or instructor in a calm and safe environment.
What should the swimmer do after capsizing?
After capsizing, the swimmer should perform a wet exit from the kayak.
How should the rescuer position their boat during a T-rescue?
The rescuer should paddle towards the front of the overturned boat and position their boat perpendicular to the bow of the capsized boat.
What is the goal after righting the capsized kayak?
The goal after righting the capsized kayak is to create a stable platform.
How does the swimmer get back into the cockpit of the kayak?
The swimmer lifts their legs out of the water, slides them backward into the cockpit, and sits upright.
What are some other advanced rescue techniques to learn?
Besides the T-rescue, other advanced rescue techniques to learn include self-rescue using a paddle float and the roll.
Where can I find instruction for learning kayak safety techniques?
It is recommended to take classes at REI stores or check with kayak specialty shops and kayaking clubs in your area for instruction.
Why is practicing the T-rescue in a controlled environment important?
Practicing the T-rescue in a controlled environment ensures that you can correctly execute the technique when needed.
How can I gain confidence and skills in handling capsizes and rescues?
By learning and mastering the T-rescue technique in a controlled environment and under the guidance of an experienced instructor, you can gain confidence and skills in handling capsizes and rescues.
What are some important safety precautions to consider when kayaking?
It is important to wear appropriate safety gear, such as a personal flotation device, and be aware of the risks associated with different water conditions.