Are you a passionate kayaker with an old kayak that needs some love and attention? Restoring old kayaks can be a gratifying project, allowing you to breathe new life into your beloved vessel. Whether it’s bringing an antique kayak back to its former glory or simply refurbishing an old kayak, the restoration process requires careful consideration and the right techniques.
Restoring old kayaks involves understanding the type of material your kayak is made from, such as wood, rotomold, glass, thermoform, or inflatable-folding. Each material has its unique characteristics and requires specific repair protocols. To ensure successful restoration, it’s essential to do your pre-repair homework, including seeking guidance from the manufacturer, practicing on a sample piece, and prioritizing safety.
Repairing different kayak materials also calls for specific techniques. Wooden kayaks may require sanding, refinishing, or replacing broken strips or hull panels. Rotomolded kayaks can be repaired by removing indentations with heat or sealing cracks with hot welding. Glass cloth construction kayaks may need sanding scratches or applying marine enamel or gel coat for a pristine finish.
In addition to addressing the kayak’s structure, don’t forget about the fittings and accessories. Strengthen deck line fittings, choose suitable materials, and consider reducing the number of fittings for a cleaner look. Proper preparation and choosing the right materials for fittings and accessories will contribute to the longevity of your kayak restoration.
Key Takeaways:
- Restoring old kayaks requires understanding the material and specific repair protocols.
- Wooden kayaks may need sanding, refinishing, or replacing strips and panels.
- Rotomolded kayaks can be repaired using heat or hot welding to remove indentations and seal cracks.
- Glass cloth construction kayaks may require sanding scratches and applying marine enamel or gel coat.
- Pay attention to fittings and accessories, strengthen them, and choose suitable materials.
Repairing Different Kayak Materials
When it comes to rejuvenating aged kayaks or restoring vintage pieces, understanding the specific kayak restoration techniques for different materials is crucial. Each material requires its own set of repair methods to ensure a successful restoration. Let’s explore the key techniques for repairing different kayak materials: wood, rotomold, and glass.
Wooden Kayaks
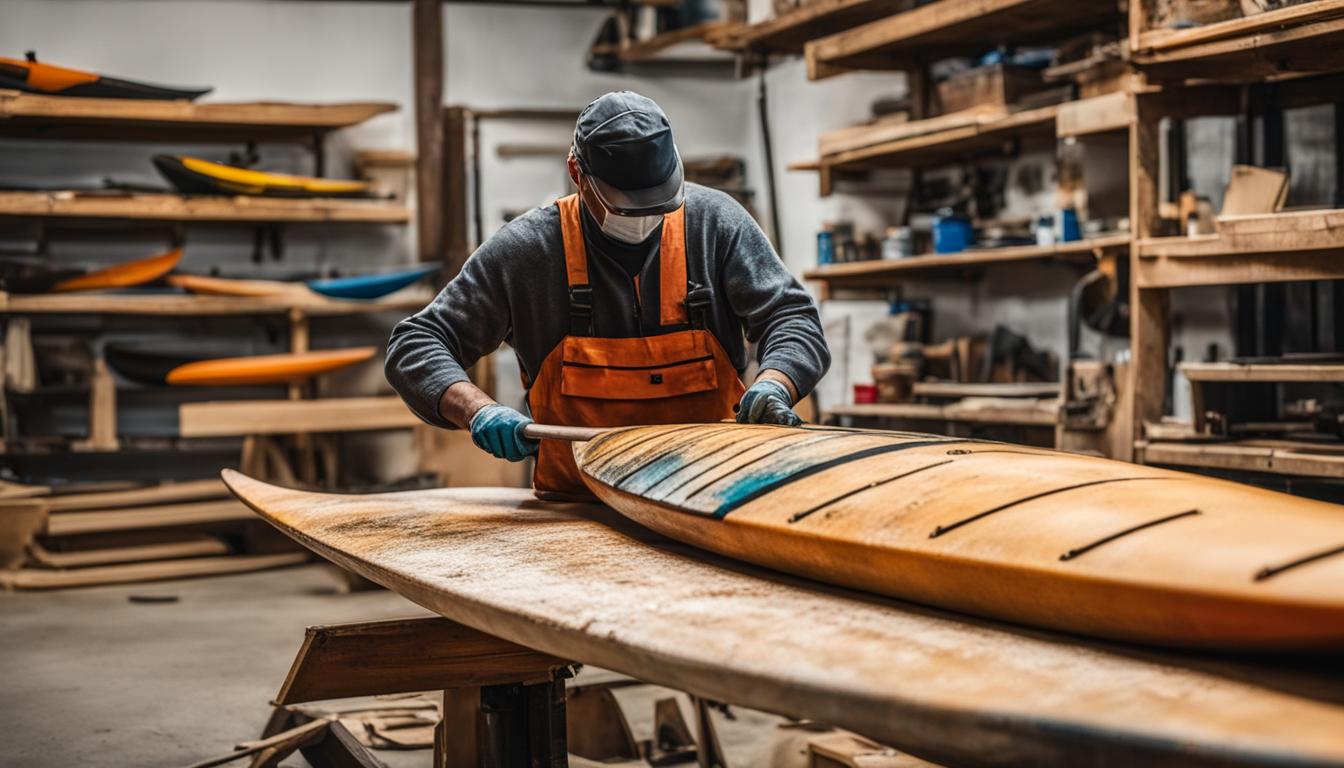
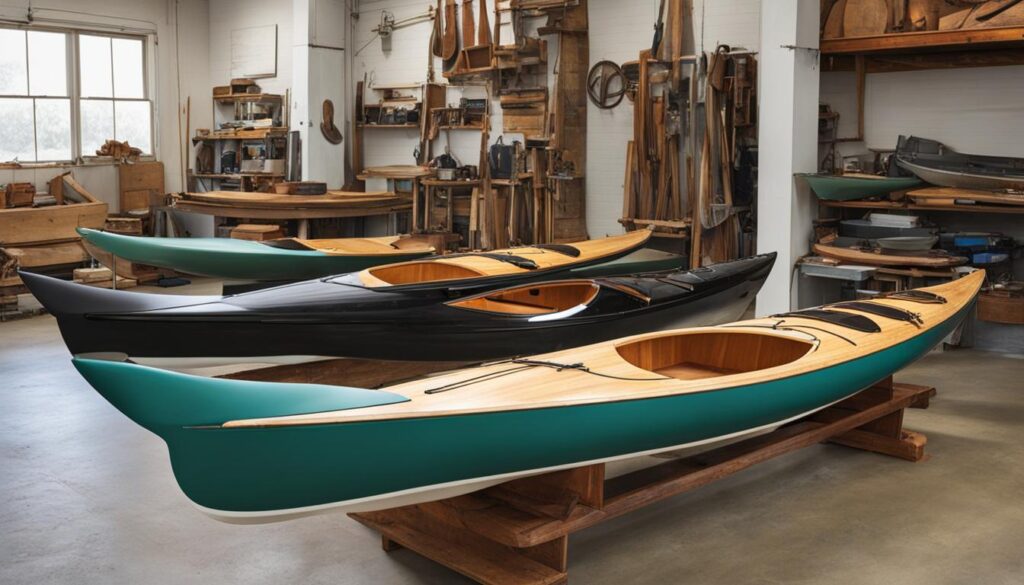
For vintage wooden kayaks, the restoration process involves utilizing the same tools and techniques used in their construction. Sanding and refinishing rough surfaces can bring back the original beauty of the wood. In cases where there are broken strips or hull panels, they can be repaired or replaced to ensure structural integrity. It’s important to work with precision and attention to detail to achieve a seamless restoration.
Rotomolded Kayaks
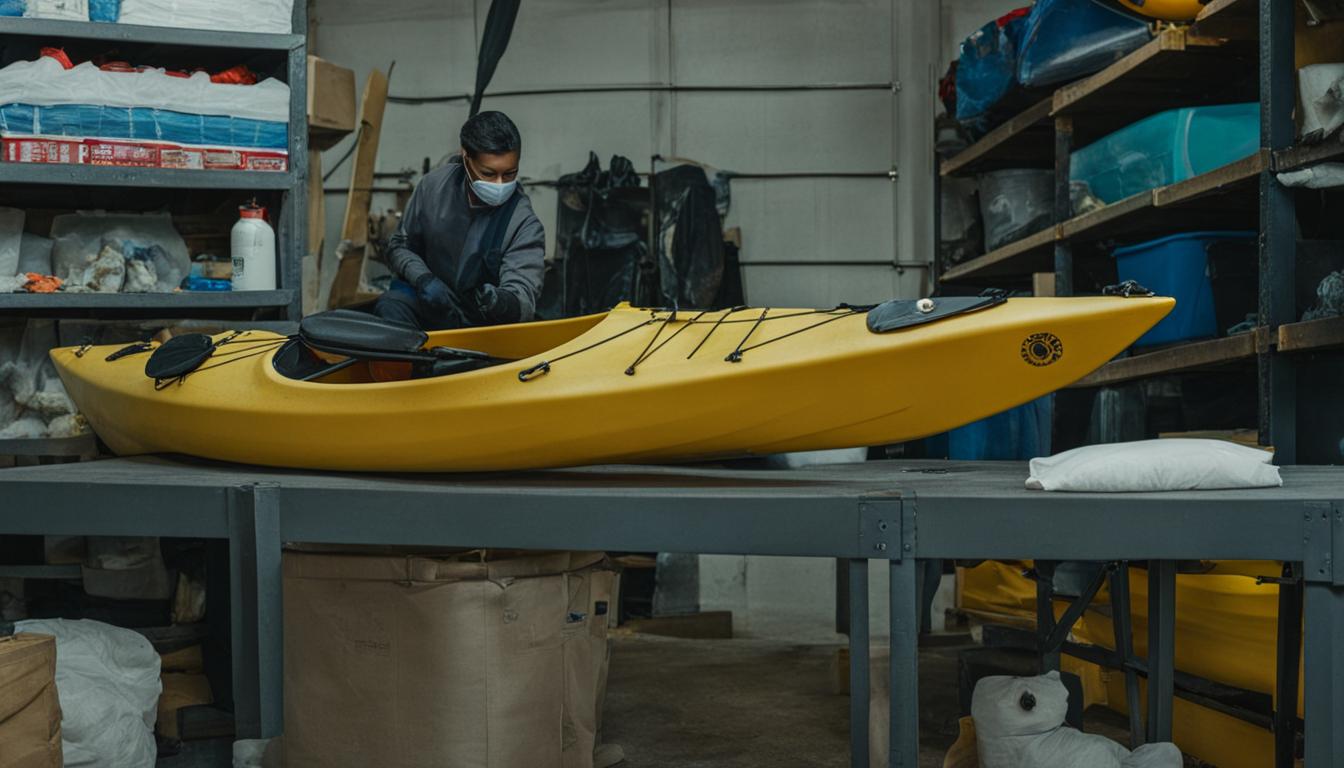
Rotomolded kayaks, often known for their durability, can also be restored with the right techniques. Repairing indentations can be accomplished by applying heat to reshape the kayak. Welding is another method used to seal and fill cracks, and it’s important to clean the damaged area thoroughly and ensure proper alignment. By following these techniques, you can revitalize your rotomolded kayak and extend its lifespan.
Glass Kayaks
Glass cloth construction kayaks require specific restoration techniques to remove scratches and achieve a smooth finish. Sanding out surface scratches and using filler adhesives to address deeper scratches are common practices. To complete the restoration, applying marine enamel or gel coat using the roll and tip technique can provide a protective and aesthetically pleasing finish.
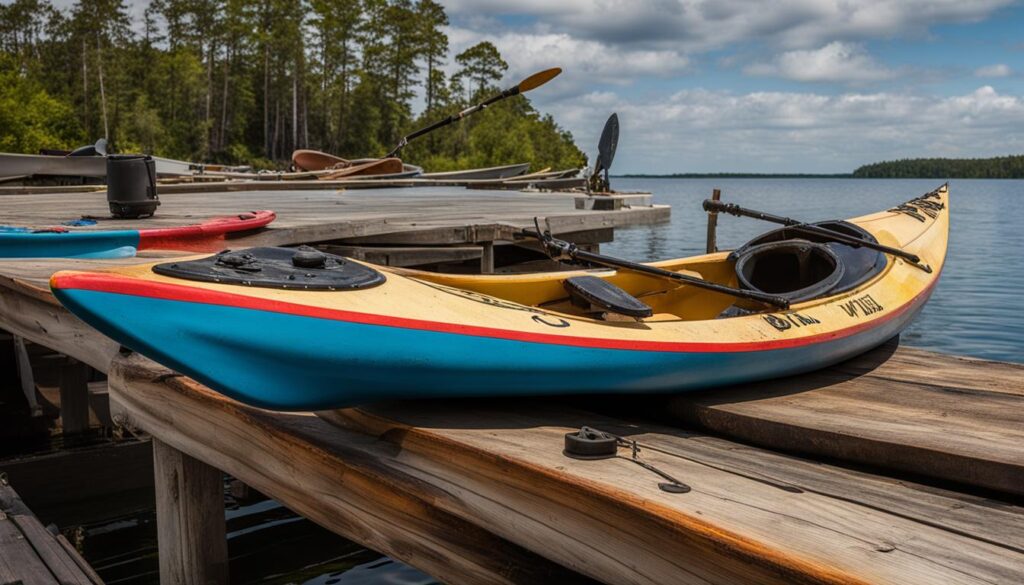
By understanding the nuances of repairing different kayak materials, you can confidently tackle your vintage kayak restoration project. Whether you have a wooden, rotomolded, or glass kayak, following these kayak restoration techniques will help you bring your aged kayak back to life and enjoy many more adventures on the water.
Tips for Repairing Kayak Fittings and Accessories
When restoring old kayaks, it’s important to pay attention not only to the structure of the kayak but also to the fittings and accessories. Properly repairing and maintaining these components can greatly enhance the functionality and aesthetics of your kayak. Here are some tips to help you restore the fittings and accessories of your old kayak:
1. Strengthen Deck Line Fittings
Deck line fittings are crucial for securing gear and providing additional stability while paddling. To strengthen these fittings, use larger stainless steel washers and apply adhesive to spread the load and seal against water ingress. Opt for marine-grade 316 stainless steel fittings for durability in harsh marine environments. By reinforcing the deck line fittings, you can ensure they can withstand the rigors of your kayaking adventures.
2. Proper Insertion of Hatches
Hatches are essential for accessing storage compartments in your kayak. When inserting hatches during restoration, consider gluing them instead of bolting them down. Gluing helps prevent cracks and ensures a secure seal. Additionally, reducing the number of fittings can simplify the restoration process. Aim for as few as 7 fittings each fore and aft, strategically placed for optimal functionality and convenience.
3. Dealing with Challenging Fittings
Some kayak fittings, especially those located in the stem and stern, can be challenging to access and install. To make this process easier, consider using a ring spanner on a long pole with the assistance of a helper. This setup allows you to reach and tighten fittings in hard-to-reach areas effectively. Patience and careful maneuvering will ensure a successful restoration of these challenging fittings.
By paying attention to the fittings and accessories of your old kayak, you can bring it back to life and enhance its performance on the water. Taking the time to properly repair and maintain these components will ensure that your kayak is ready for many more adventures.
| Fitting | Tips for Restoration |
|---|---|
| Deck Line Fittings | – Use larger stainless steel washers and adhesive to strengthen and seal against water ingress. – Opt for marine-grade 316 stainless steel fittings for durability. |
| Hatches | – Glue hatches instead of bolting them to prevent cracks and ensure a secure seal. – Reduce the number of fittings to simplify the restoration process. |
| Challenging Fittings | – Use a ring spanner on a long pole with the help of a partner to access and tighten fittings in hard-to-reach areas. |
Conclusion
Restoring old kayaks can be a rewarding project for watersport enthusiasts looking to revitalize their worn-out vessels. By following the techniques and tips outlined in this article, you can embark on successful kayak restoration projects. Whether you’re revitalizing old kayaks, restoring vintage kayaks, or simply bringing old kayaks back to life, it’s essential to pay attention to detail and follow best practices for lasting results.
Understanding the different repair methods for various kayak materials is key to a successful restoration. From wooden kayaks to rotomolded and “glass” cloth construction kayaks, each material requires its own approach. By following the appropriate steps and techniques for each type, you can ensure proper repair and rejuvenation.
In addition to repairing the kayak structure, don’t overlook the fittings and accessories. Strengthening deck line fittings, properly inserting hatches, and using the right materials for fittings and accessories are crucial for long-term kayak restoration. Taking the time to prepare and choose the right materials will ensure the longevity of your revitalized kayak.
So, gear up and get ready to embark on your kayak restoration projects. With the right knowledge and resources, you can bring your old kayaks back to life, revitalizing them for many more adventures on the water. Happy restoring!
FAQ
What are the basic repair methods for different kayak materials?
The repair methods for different kayak materials vary. Wooden kayaks require sanding, refinishing, and replacing broken strips or panels. Rotomolded kayaks can be repaired using heat or hot welding to remove indentations or seal cracks. “Glass” cloth construction kayaks may require sanding, filling with adhesives, and using marine enamel or gel coat for finishing.
How do I strengthen deck line fittings?
Deck line fittings can be strengthened by using larger stainless steel washers and applying adhesive to spread the load and seal against water ingress. It is important to use marine-grade 316 stainless steel for durability.
Should I glue or bolt hatches when inserting them?
Gluing hatches is often better than bolting to prevent cracks. Proper preparation and choosing the right materials for fittings and accessories are crucial for long-term kayak restoration.
How can I reduce the number of fittings on my kayak?
The number of fittings can be reduced to as few as 7 each fore and aft, and they don’t necessarily have to be at the very tip. Fitting nuts in the stem and stern can be challenging, but using a ring spanner on a long pole with a helper can make the process easier.
What should I consider when restoring old kayaks?
When restoring old kayaks, it is important to understand the different repair methods for various kayak materials, properly repair fittings and accessories, and ensure thorough pre-repair preparation and clean-up.

