If you’ve noticed unsightly scratches on your kayak and want to know how to fix them yourself, look no further. With a few simple techniques, you can restore your kayak’s appearance and maintain its longevity. Most kayaks are made from durable polyethylene, which is fairly easy to repair. By following these DIY tricks, you can easily repair scratches and keep your kayak looking its best.
Key Takeaways:
- Repairing scratches on your kayak doesn’t have to be expensive or complicated.
- With a few simple DIY techniques, you can restore the appearance of your kayak and prolong its lifespan.
- Regular maintenance and repairs are essential to keep your kayak looking its best and ready for your next adventure.
- Be cautious when hauling or docking your kayak to avoid future damage.
- Properly store your kayak when not in use to prevent unnecessary wear and tear.
Understanding Your Kayak and Assessing Damage
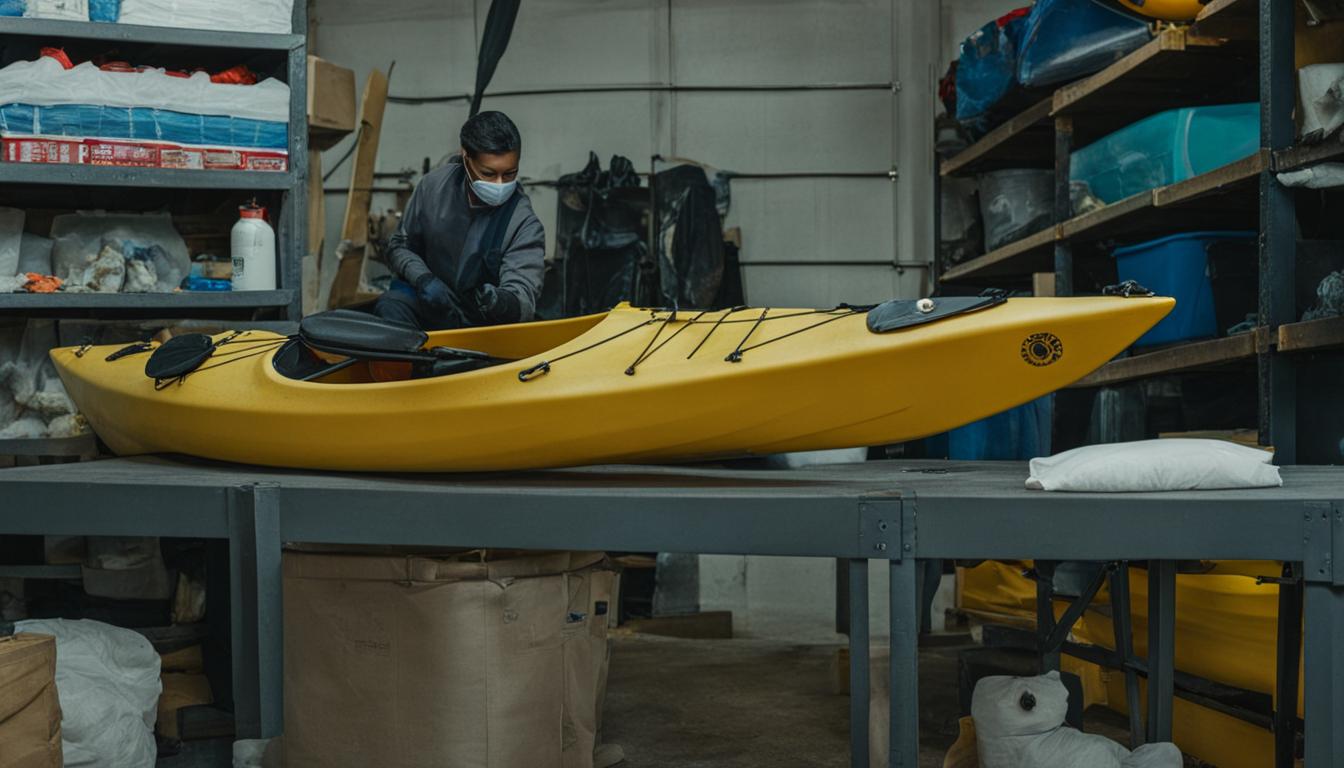
Before you start repairing the scratches on your kayak, it’s important to have a good understanding of the material your kayak is made of and assess the extent of the damage. Most kayaks are constructed using either LPDE or HDPE polyethylene, which is known for its durability. However, even the toughest materials can suffer wear and tear over time. Additionally, if you have a fiberglass kayak, the repair techniques may differ.
When inspecting your kayak, take note of the depth and severity of the scratches. Superficial scratches may only require simple cosmetic repairs, while deeper scratches could compromise the integrity of the hull. It’s essential to determine the extent of the damage before proceeding with any repairs.
For fiberglass kayaks, the repair process may involve using fiberglass cloth, epoxy resin, and sanding techniques. It’s important to familiarize yourself with the specific repair techniques and materials required for your kayak’s construction material.
Assessing the Damage
When assessing the damage to your kayak, follow these steps:
- Inspect the entire hull of your kayak for scratches, cracks, or dents.
- Identify the depth of the scratches by running your fingernail over them. Superficial scratches can be easily felt, while deeper scratches may require more extensive repairs.
- Take note of any areas where the structural integrity of the kayak may be compromised, such as cracks or holes.
By thoroughly understanding your kayak and assessing the damage, you can proceed with the appropriate repair techniques and materials, ensuring that your kayak is restored to its former glory.

DIY Kayak Scratch Repair Technique
Repairing scratches on your kayak is a simple task that you can easily do at home. With a few basic tools and materials, you can restore your kayak’s surface and keep it looking its best. Here’s a step-by-step guide on how to repair scratches on your kayak’s hull.
Materials and Tools You Will Need:
- Fine grade sandpaper (800 to 1000 grit)
- Heat gun or hairdryer
- Dry, clean cloth
- Optional: Kayak wax
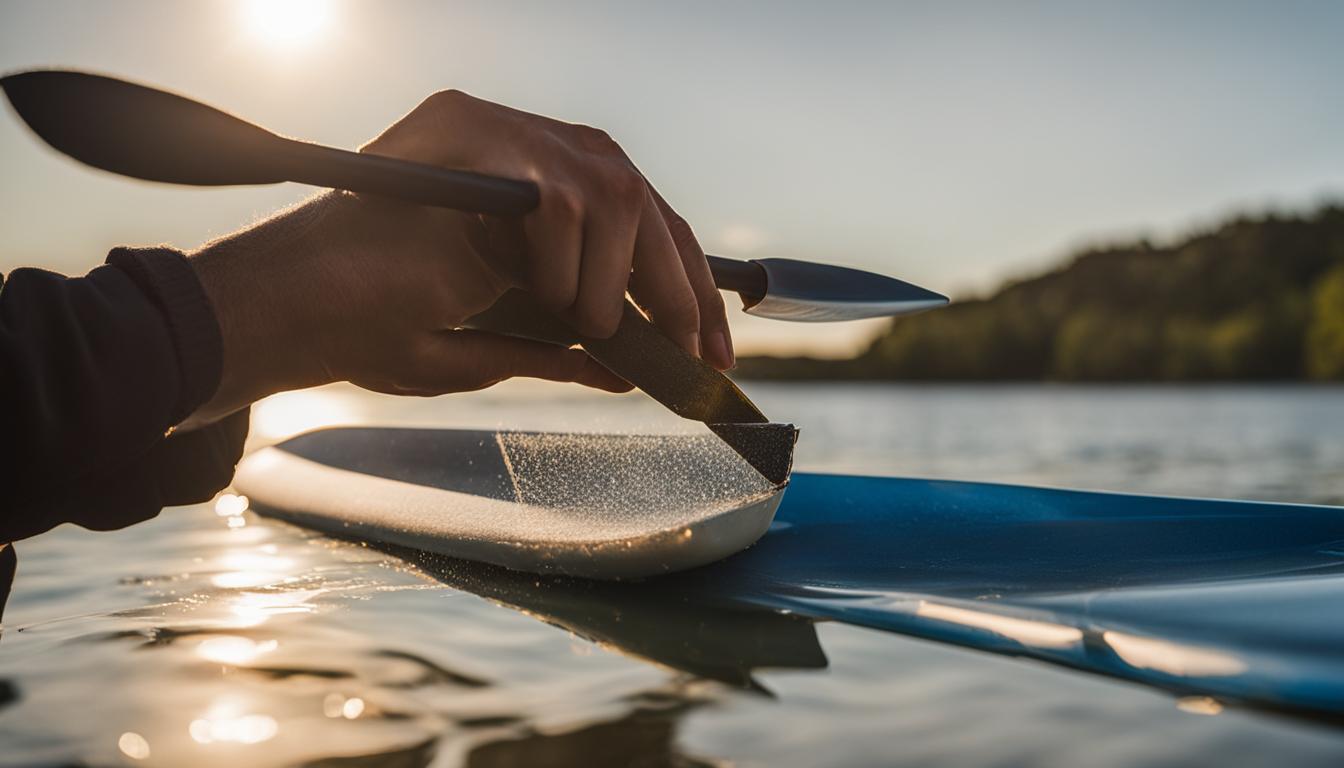
Before you begin the repair process, make sure to clean your kayak thoroughly to remove any dirt or residue. Once the surface is clean, you can start sanding the scratched areas using the fine grade sandpaper. Gently sand the surface in a circular motion to smoothen out the scratches.
Next, use the heat gun or hairdryer to heat the scratched areas. The heat will help to melt back the sharp edges of the scratches, making them less noticeable. Keep the heat gun or hairdryer moving to avoid damaging the plastic. As you heat the surface, use a dry cloth to wipe the area and help shape the kayak.
If desired, you can finish the repair by applying kayak wax. The wax will enhance the color of the hull and provide an extra layer of protection. Simply apply a thin layer of wax to the surface using a soft cloth and buff it gently until it shines.

By following these simple DIY techniques, you can repair scratches on your kayak’s surface and maintain its appearance. Remember to always assess the depth of the scratches and use the appropriate repair method based on the material of your kayak. With regular care and maintenance, your kayak will continue to provide you with endless adventures.
Conclusion
Repairing scratches on your kayak doesn’t have to be a daunting task. With this handy kayak scratch repair guide, you can easily restore the appearance of your plastic kayak and keep it in top condition. By following the step-by-step DIY techniques outlined in this article, you’ll be able to fix those unsightly scratches and protect your kayak’s hull from further damage.
Remember, the key is to assess the type and depth of the scratches before proceeding with the repair. Different materials may require specific techniques, such as repairing fiberglass kayak scratches. By knowing what you’re working with, you can choose the right tools and materials for the job.
Regular maintenance is also crucial in preserving the longevity of your kayak. Take preventive measures, like being cautious when hauling or docking your kayak, and storing it properly when not in use. This will help minimize the chances of future scratches and keep your kayak looking its best.
So, don’t let kayak scratches get you down. Armed with this kayak scratch repair guide, you now have the knowledge and confidence to restore your plastic kayak to its former glory. Get ready for your next adventure and enjoy the thrill of paddling on pristine waters with your newly repaired kayak!
FAQ
Can I use these DIY techniques to repair scratches on a fiberglass kayak?
These DIY techniques are primarily intended for repairing scratches on polyethylene kayaks. Fiberglass kayaks may require different repair methods. It is best to consult with a professional or refer to the manufacturer’s guidelines for repairing scratches on fiberglass kayaks.
How long does it take to repair scratches on a kayak using these DIY techniques?
The time it takes to repair scratches on a kayak can vary depending on the depth and extent of the damage. However, with the right tools and materials, most minor scratches can be repaired within a few hours.
Can I prevent scratches from occurring on my kayak?
While it is difficult to completely prevent scratches on your kayak, there are measures you can take to minimize the risk. Avoid dragging your kayak on rough surfaces, use protective padding when transporting or storing your kayak, and be cautious when docking or launching to avoid hitting sharp objects.
Can I use other materials besides sandpaper to smoothen the scratched surfaces?
Sandpaper is recommended for smoothing out the scratched surfaces of a polyethylene kayak. It is important to use a fine grade sandpaper (800 to 1000 grit) to avoid further damaging the hull. Alternatives may not provide the same level of smoothness or may cause damage to the plastic.
Is it necessary to apply wax after repairing the scratches on my kayak?
Applying wax to your kayak after repairing the scratches is optional but recommended. Wax can help enhance the color of your kayak and provide additional protection to the hull. It also makes future cleaning and maintenance easier.