When it comes to kayak fishing, having the right electronics can make all the difference. Whether you’re a beginner looking to get started or a seasoned angler wanting to take your skills to the next level, integrating fish finders and sonar devices onto your kayak can greatly enhance your fishing experience.
With the advancements in technology, there are now various options and setups available for kayak fishing electronics. From basic setups with a three-in-one fish finder to more advanced builds with multiple fish finders, navigation systems, and even trolling motors, the possibilities are endless. The key is to choose the right electronics and accessories that best suit your preferences, knowledge, and budget.
In this comprehensive guide, we will walk you through the process of integrating electronics and sonar onto your kayak. You will learn how to choose the proper battery, power multiple accessories, rig the wires and connections, and install a fish finder on your kayak. By following these steps, you’ll be well-equipped with the necessary tools and knowledge to make the most out of your kayak fishing adventures.
Key Takeaways:
- Integrating fish finders and sonar devices can greatly enhance your kayak fishing experience.
- Choose electronics and accessories that fit your preferences, knowledge, and budget.
- Proper battery selection is crucial for powering multiple accessories and ensuring reliable operation.
- Rigging wires, connections, and controls correctly will result in a clean and functional installation.
- Installing a fish finder requires mounting the transducer, choosing a convenient location for the display screen, and organizing cables.
Choosing the Proper Battery and Powering Multiple Accessories
When it comes to integrating electronics into your kayak fishing setup, selecting the right battery is crucial for powering multiple accessories. The choice of battery depends on the voltage requirements of your devices. For a 12-volt system, a 12-volt rechargeable battery will suffice. However, if you’re planning to power a 24-volt electric outboard or other high-energy draws, like forward-facing sonar, you’ll need twin 12-volt batteries wired in series.
It’s important to calculate the battery capacity needed for the desired run time. This will ensure reliable and consistent power for all your accessories during your kayak angling adventures. You want to make sure you have enough power to last throughout your fishing trip without any interruptions.
Additionally, consider having a separate battery for high-energy draws to avoid draining the main power source. This will help maintain stable voltage levels and ensure your electronics operate optimally. Remember, the last thing you want is to lose power in the middle of a fruitful fishing session!
| Device | Voltage Requirement |
|---|---|
| Three-in-one Fish Finder | 12 Volts |
| 24-Volt Electric Outboard | 24 Volts (Two 12-Volt Batteries Wired in Series) |
| Forward-Facing Sonar | 12 Volts (Separate Battery Recommended) |
By carefully selecting the proper battery and powering multiple accessories, you can ensure a reliable and uninterrupted power supply for your kayak fishing electronics. This will enable you to fully enjoy the benefits of electronic navigation, fish finders, and other essential tools for successful kayak angling.
Rigging Wires, Connections, and Controls
When it comes to rigging your kayak’s electronics, proper wire management, connections, and controls are crucial for a clean and functional setup. With the right tools and techniques, you can create a well-organized and waterproofed installation that ensures the longevity and reliability of your kayak’s electronics.
Organizing Wires and Planning Access Points
Start by gathering all the necessary tools, including wire cutters, heat shrink crimp connectors, marine-grade wiring, and cable ties. Before running any wires, consider how you want to access your electronics and plan the best entry points on your kayak. Bundle the wires outside the hull first to determine the ideal access points and secure them off the bottom of the hull.
Waterproofing and Protecting Electronics
Moisture can be a major concern when rigging electronics on a kayak. To keep your electronics safe and dry, use harnessing and waterproofing techniques. You can use heat shrink tubing, silicone sealant, or specialized waterproof enclosures to protect your connections and devices from water damage. Pay close attention to areas where wires enter the kayak’s hull and ensure they are properly sealed.
Making Secure and Reliable Connections
When making wire connections, it’s important to use marine-grade, heat shrink crimp connectors or properly solder the wires. These connectors provide a secure and reliable connection that can withstand the harsh marine environment. Before finalizing any connections, test each one to ensure they are working properly. Neatly organize and secure the wires using cable ties or adhesive-backed Velcro straps to prevent tangling and potential damage.
| Wire Management Tips | Benefits |
|---|---|
| Bundle wires outside the kayak hull | Easy access points and prevents tangling |
| Use heat shrink crimp connectors or solder connections | Secure and reliable connection |
| Waterproof connections and protect electronics | Prevents water damage and extends the lifespan of electronics |
| Organize and secure wires with cable ties or Velcro straps | Prevents wire tangling and potential damage |
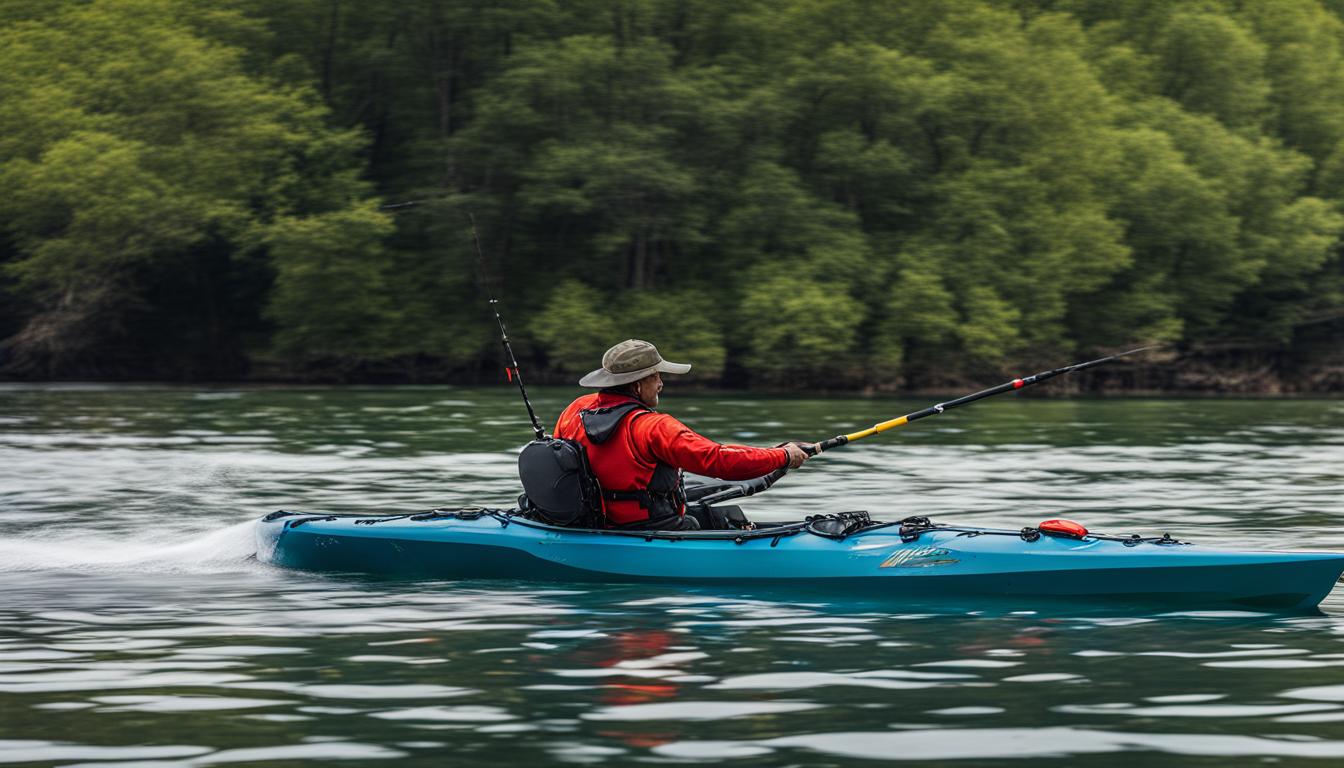
Installing a Fish Finder on Your Kayak
Adding a fish finder to your kayak can revolutionize your fishing experience. With the ability to locate fish and determine water depth, a fish finder can significantly increase your chances of a successful catch. Here, we will guide you through the process of installing a fish finder on your kayak, including mounting the transducer, positioning the display screen, and wiring everything together.

Mounting the Transducer
The transducer is a vital component of the fish finder as it sends and receives sonar signals to detect fish and underwater structures. To mount the transducer on your kayak, you have two options: through-hull installation or external arm-mounted installation.
For a through-hull installation, you will need to create a hole in the kayak’s hull and securely mount the transducer inside. This method provides optimal sonar performance but requires careful installation to ensure a watertight seal.
If you prefer an external arm-mounted installation, you can attach the transducer to a bracket or arm that extends into the water. This method is easier to set up and allows for quicker adjustments, but it may result in slightly reduced sonar performance.
Positioning the Display Screen
Choosing the right location for your fish finder’s display screen is essential for convenient and effective use. Aim for a position within arm’s reach, ideally near the kayak’s cockpit area, so you can easily view the screen while paddling or fishing.
You can mount the display screen using a variety of methods, such as RAM mounts, adhesive mounts, or custom brackets. Consider factors such as visibility, accessibility, and protection from water splashes when deciding on the screen’s placement.
Wiring and Powering the Fish Finder
Once the transducer and display screen are in place, you need to connect them and power the fish finder. Start by running the necessary cables neatly along the kayak, securing them with cable ties or Velcro straps to prevent tangling.
Next, set up a waterproof battery box to house the fish finder’s power source. Ensure the box is securely mounted and easily accessible for battery maintenance or replacement. Connect the fish finder’s power cable to the battery, following the manufacturer’s instructions for proper wiring.
Finally, test your fish finder’s functionality to ensure all components are working correctly. Adjust the settings, familiarize yourself with the controls, and fine-tune the sonar sensitivity to your preferences.
By following these steps, you can successfully install a fish finder on your kayak and take your fishing adventures to new depths. Remember to consult the manufacturer’s instructions for specific installation guidelines and seek professional assistance if needed.
Conclusion
Integrating electronics and sonar into your kayak fishing setup can revolutionize your angling experience. Utilizing marine electronics in your kayak opens up a whole new world of possibilities, allowing you to make the most of your time on the water.
With advanced kayak fishing technology tools like fish finders and depth finders, you can locate fish, determine water depth, and study underwater structures with ease. These innovative devices offer valuable insights that can significantly improve your fishing success.
As the field of kayak fishing technology continues to evolve, we can expect to see even more advancements in the future. Kayak-specific cabling options, shorter cables, and easier detachment of electronics will make installation and maintenance more convenient than ever before.
By investing in the right marine electronics and taking the time to properly install and maintain them, you’ll have all the necessary tools at your disposal for a successful day on the water. So, get out there and make the most of the incredible opportunities that kayak fishing technology has to offer!
FAQ
What battery do I need for my kayak’s electronics?
Select a 12-volt rechargeable battery for a 12-volt system. For a 24-volt electric outboard, wire twin 12-volt batteries in series. Consider a separate battery for high-energy draws like forward-facing sonar.
How do I properly rig the wires, connections, and controls?
Start by having the right tools, equipment, and materials. Bundle the wires outside the hull and plan access points. Use marine-grade, heat shrink crimp connectors or solder the wires for connections. Ensure a well-organized and waterproofed setup.
What do I need to install a fish finder on my kayak?
You will need a fish finder with a transducer, display screen, and cables. Mount the transducer through the hull or with an external arm-mounted option. Choose a convenient location for the display screen within arm’s reach. Run the cables neatly and secure them with cable ties or Velcro straps.
How can integrating electronics and sonar improve my kayak fishing experience?
Advanced electronics can help you find fish, determine water depth, study underwater structure, and navigate with GPS. They provide you with the necessary tools for a successful day on the water.