Are you an avid kayaker looking for affordable and custom transportation options for your beloved kayak? Look no further, because we have some creative and cost-effective DIY solutions for you! In this article, we will explore how you can build your own kayak carrier, construct homemade kayak racks for cars, and explore alternative methods for transporting your kayak without a roof rack. Get ready to embark on a fun and rewarding DIY project that will make transporting your kayak a breeze!
Key Takeaways:
- Constructing your own DIY kayak trailer allows for customization and functionality.
- Assess your specific requirements to determine the size and design of your DIY kayak trailer.
- Gather the necessary materials and tools before starting the construction process.
- Follow the step-by-step instructions to build a reliable and efficient DIY kayak trailer.
- If you don’t have a roof rack, consider using pool noodles, foam blocks, or a hitch-mount carrier for transportation.
Assessing Your Requirements for a DIY Kayak Trailer
Before you start building your DIY kayak trailer, it’s essential to assess your specific requirements. This will help you determine the size, design, and features that are best suited for your needs. Consider the following factors to ensure you create a trailer that meets your expectations:
Determine the Number of Kayaks to Transport
First, determine how many kayaks you plan to transport using the trailer. This will affect the size and weight capacity requirements of the trailer. Ensure that the trailer can accommodate the number of kayaks you have and has sufficient space for secure transportation.
Consider the Weight Capacity
Next, consider the weight capacity of your DIY kayak trailer. Take into account the weight of your kayaks, any additional gear or equipment you plan to transport, and the trailer’s towing capacity. It’s crucial to ensure that the trailer can safely handle the combined weight of your kayaks and any other items.
Evaluate Your Vehicle’s Towing Capacity
Check your vehicle’s towing capacity to ensure it can handle the weight of the loaded trailer. Refer to your vehicle’s manual or consult with a professional if you’re unsure about its towing capabilities. It’s important to choose a trailer that is within your vehicle’s towing limits to ensure safe and efficient transportation.
By assessing your requirements before starting the construction process, you can design and build a DIY kayak trailer that perfectly suits your needs. Taking into account the number of kayaks you plan to transport, the weight capacity, and your vehicle’s towing capacity will help you create a reliable and efficient solution.
| Factors to Consider for a DIY Kayak Trailer | Details |
|---|---|
| Number of Kayaks to Transport | Determine the number of kayaks you plan to transport using the trailer. |
| Weight Capacity | Consider the weight capacity of the trailer based on the combined weight of your kayaks and any additional gear. |
| Vehicle’s Towing Capacity | Evaluate your vehicle’s towing capacity to ensure it can safely tow the loaded trailer. |
Gathering the Materials and Tools for a DIY Kayak Trailer
Before you start building your DIY kayak trailer, it’s essential to gather all the necessary materials and tools. Having everything prepared will ensure a smooth construction process and minimize interruptions. Here’s a detailed list of items you’ll need:
Materials:
- Steel or aluminum frame
- Axle and wheels
- Suspension system
- Plywood or metal for the trailer bed
- Fasteners (screws, bolts, nuts)
- Wiring and lighting equipment
- Safety chains
- Hitch couplers
Tools:
- Wrenches and socket set
- Drill and drill bits
- Saw (circular saw, miter saw)
- Measuring tape
- Level
- Wire cutter/stripper
- Screwdriver (Phillips and flathead)
- Hammer
Double-check the availability of these materials and tools before you begin. Ensure that you have the correct sizes and quantities to match your DIY kayak trailer design. This proactive approach will save you time and frustration during the construction process.
Remember, safety should always be a top priority when gathering materials and tools. Wear appropriate protective gear, such as gloves and safety glasses, when handling sharp objects or power tools. Additionally, follow all manufacturer’s instructions and safety guidelines for each tool and material you use.
Now that you have all the necessary materials and tools ready, you’re one step closer to building your own DIY kayak trailer. In the next section, we’ll provide step-by-step instructions to guide you through the construction process.

Building Your DIY Kayak Trailer: Step-by-Step Instructions
Now that you have assessed your requirements and gathered all the necessary materials and tools, it’s time to dive into the construction process of your DIY kayak trailer. Follow these step-by-step instructions to ensure a successful build:
Step 1: Frame Construction
Start by assembling the steel or aluminum frame of your kayak trailer. Secure the frame pieces together using appropriate fasteners, such as nuts and bolts or welding. Make sure the frame is sturdy and well-aligned to provide a strong foundation for your trailer.
Step 2: Install the Axle, Wheels, and Suspension
Attach the axle to the frame, ensuring it is properly aligned and securely attached. Next, install the wheels onto the axle, making sure they are centered and can rotate freely. If you opted for a suspension system, follow the manufacturer’s instructions to install it correctly.
Step 3: Build the Trailer Bed
Create the trailer bed using plywood or metal, depending on your preference and availability. Cut the material to the desired size and shape, ensuring it fits securely onto the frame. Attach the bed to the frame using appropriate fasteners, ensuring it is level and stable.
Step 4: Wiring and Lighting
Install the necessary wiring and lighting equipment to ensure your DIY kayak trailer is visible and compliant with road regulations. Connect the lights, brake signals, and turn signals according to the wiring diagram provided with your lighting kit. Test all the lights to ensure they are functioning correctly.
Step 5: Additional Features
If desired, add any additional features to enhance the functionality of your DIY kayak trailer. This could include adjustable kayak racks, storage compartments, or tie-down points for securing your kayaks and gear.
Once you have completed all the construction steps, take the time to thoroughly inspect your DIY kayak trailer. Check for any loose fasteners, ensure all components are well-built and secure, and confirm that everything is properly aligned. Making these final checks will help ensure optimal performance and safety when using your DIY kayak trailer.
| Materials | Tools |
|---|---|
| Steel or aluminum frame | Nuts and bolts or welding equipment |
| Axle | Socket wrench |
| Wheels | Drill |
| Suspension system (optional) | Measuring tape |
| Plywood or metal for trailer bed | Saw |
| Fasteners | Screwdriver |
| Wiring and lighting equipment | Wire cutters and crimper |
| Safety chains | Level |
| Hitch couplers | Inspection mirror |
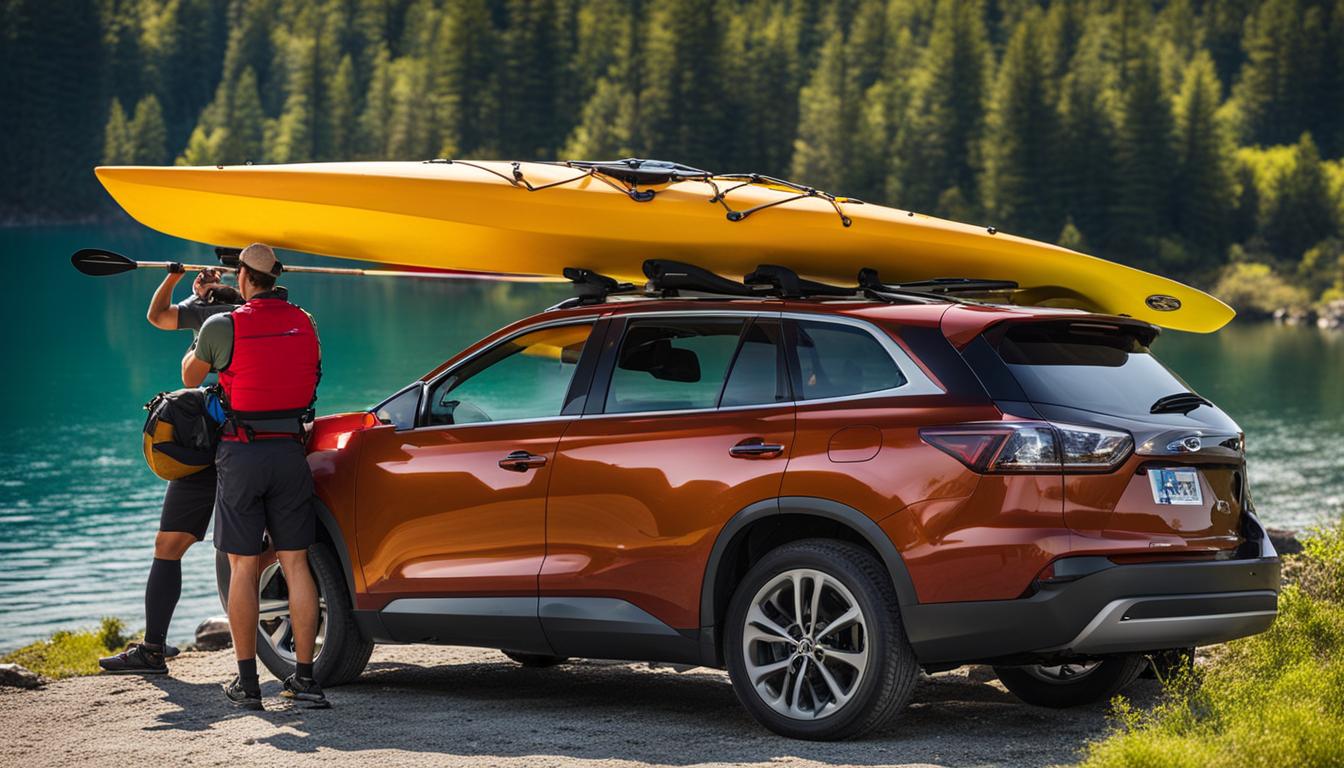
Tips for Transporting a Kayak without a Roof Rack
If your vehicle doesn’t have a roof rack, there are alternative options for transporting your kayak. Whether you’re heading to your favorite fishing spot or planning a kayaking adventure, here are some DIY kayak roof rack ideas and homemade kayak transport solutions to help you get your kayak to your destination safely and securely.
1. Pool Noodles
Pool noodles can be a lifesaver when it comes to transporting your kayak without a roof rack. Simply attach two pool noodles to the roof of your vehicle using adjustable straps or rope, creating a makeshift roof rack. Place the kayak on top of the pool noodles, ensuring it is centered and balanced. Use additional straps to secure the kayak to your vehicle, making sure it is tightly fastened.

2. Foam Blocks
Another cost-effective option is to use foam blocks. These can be easily found at most outdoor or sporting goods stores. Place the foam blocks on the roof of your vehicle, and position your kayak on top, ensuring it is properly centered. Use straps to secure the kayak to the foam blocks and your vehicle, maintaining a tight and secure fit.
3. Hitch-Mount Carrier
If your vehicle has a hitch receiver, a hitch-mount carrier can be a convenient option for transporting your kayak. These carriers attach to your vehicle’s hitch and provide a stable platform for your kayak. Simply secure your kayak to the carrier using straps or bungee cords, making sure it is tightly fastened and well-balanced.
By utilizing these DIY kayak roof rack ideas and homemade kayak transport solutions, you can confidently transport your kayak without a roof rack, ensuring a safe and enjoyable journey to your next paddling destination.
Using Ratchet Straps or Cam Straps for Secure Transportation
When it comes to transporting your kayak, ensuring that it is securely strapped down is essential for safe and stress-free transportation. Two popular options for securing your kayak are ratchet straps and cam straps, each offering their own unique advantages.
First, let’s take a look at ratchet straps. These straps are known for their tight fit and are suitable for heavy loads. They feature a ratchet mechanism that allows you to easily tighten the strap and keep it securely in place. Ratchet straps are a great choice when you need maximum tension and want to avoid any movement or shifting during transport.
“Ratchet straps provide a tight fit and are suitable for heavy loads.”
On the other hand, if you prefer a simpler and easier-to-adjust option, cam straps may be the right choice for you. Cam straps feature a cam buckle that allows for quick and easy adjustment. They are less likely to cause damage to your kayak and provide a secure hold without the need for a ratchet mechanism. Cam straps are ideal for lighter loads and situations where you may need to adjust the tension frequently.
Before setting off on your kayak adventure, always double-check the tension of your straps to ensure a secure fit. It’s also a good idea to periodically check the straps during your journey to ensure they remain tight and your kayak stays in place. By using ratchet straps or cam straps, you can have peace of mind knowing that your kayak is securely fastened and ready for the road ahead.
Table: A Comparison of Ratchet Straps and Cam Straps
| Strap Type | Advantages | Disadvantages |
|---|---|---|
| Ratchet Straps | Tight fit, suitable for heavy loads | Require more effort to tighten and release |
| Cam Straps | Easy to adjust, less likely to cause damage | Not as strong as ratchet straps, better for lighter loads |
Table: A comparison of ratchet straps and cam straps for securing your kayak during transportation.
Summary:
When it comes to securing your kayak during transportation, ratchet straps and cam straps are both viable options. Ratchet straps provide a tight fit and are suitable for heavy loads, while cam straps are easier to adjust and less likely to cause damage. Choose the type of strap that best meets your needs and always double-check the tension before hitting the road. By properly securing your kayak, you can enjoy a safe and stress-free journey to your next paddling destination.
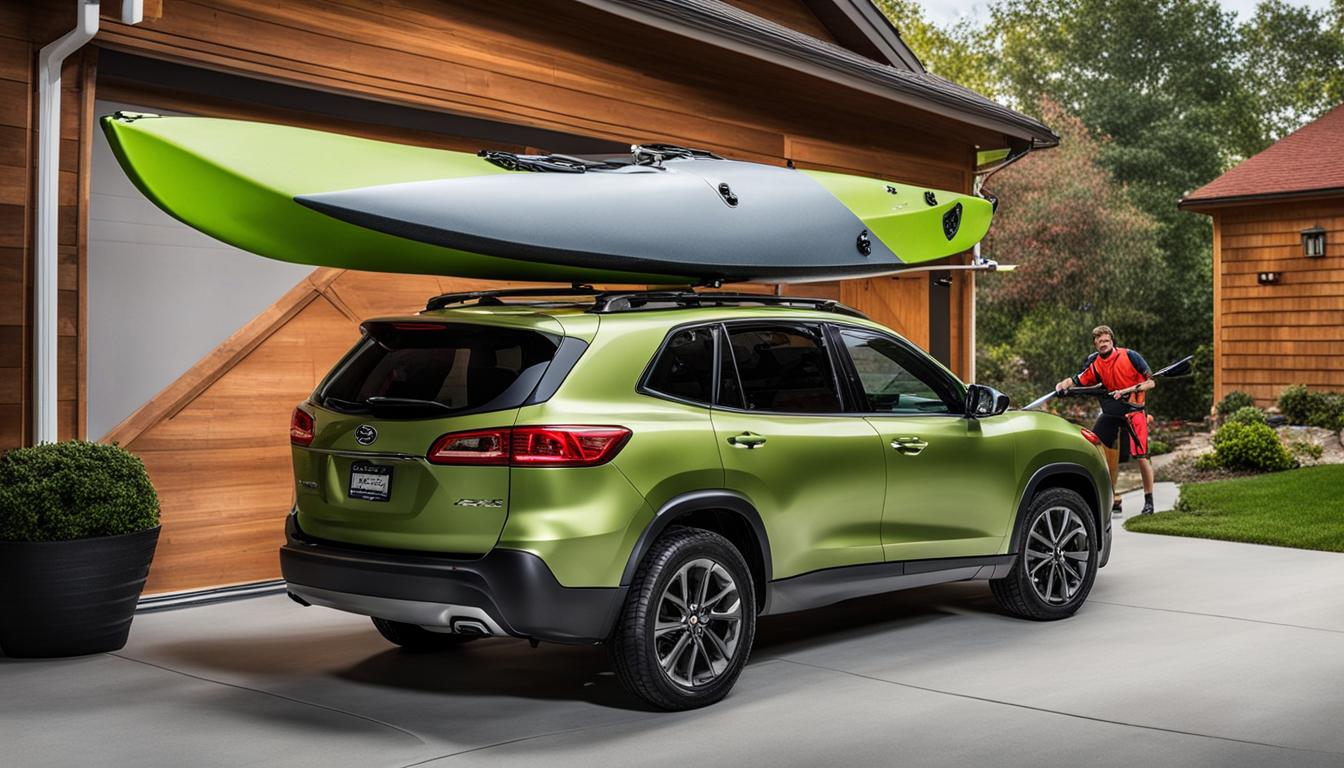
DIY Solutions for Kayak Transportation without a Roof Rack
Transporting your kayak without a roof rack can be a challenge, but with a little creativity and some DIY know-how, you can find cost-effective solutions. Building your own kayak rack for your car is a great option that allows you to customize it to fit your specific needs. Here are a few DIY solutions to consider:
1. PVC Pipe Roof Rack
One popular DIY option is to create a roof rack using PVC pipes. PVC pipes are lightweight, affordable, and easy to work with. You can build a simple kayak rack by cutting the pipes to the desired length and using connectors to assemble it. To ensure stability, consider using additional supports or braces. Remember to measure your car’s roof width to determine the appropriate size for your PVC pipe roof rack.
2. Wooden Roof Rack
If you prefer a more rustic look, consider building a wooden roof rack. This option requires basic woodworking skills and tools, but the end result can be both functional and aesthetically pleasing. Choose sturdy, weather-resistant wood and design the rack to accommodate the width and length of your kayak. Don’t forget to add padding or kayak cradles to protect your kayak during transportation.
Regardless of which DIY solution you choose, it’s important to prioritize safety. Make sure your kayak rack is securely attached to your car, and regularly check the straps and fasteners to ensure they are tight. Additionally, always follow state and local laws regarding the transportation of kayaks, including proper signage and flag requirements.
| Pros | Cons |
|---|---|
| Customizable to fit your specific needs | Requires time and effort to build |
| Affordable option compared to purchasing a roof rack | May not be as sturdy or secure as a commercial roof rack |
| Opportunity to showcase your DIY skills | Requires regular maintenance and occasional repairs |
With these DIY solutions, you can transport your kayak safely and conveniently without the need for a roof rack. Whether you choose to build a PVC pipe roof rack or a wooden roof rack, remember to prioritize safety and always double-check your equipment before hitting the road.
Building your own kayak rack can be a fun and rewarding project that allows you to customize your setup to fit your specific needs. It’s a cost-effective alternative to purchasing a commercial roof rack and can add a personal touch to your kayaking adventures.
Conclusion
As you can see, there are various DIY kayak transport solutions available to help you safely and efficiently transport your kayak. Whether you choose to build your own DIY kayak trailer or explore alternative methods without a roof rack, these homemade kayak transport solutions offer cost-effective options.
When embarking on any DIY project, it’s essential to assess your specific requirements and choose the method that best suits your vehicle and needs. Prioritize safety by properly securing your kayak during transportation and regularly checking the straps for tightness. By following these guidelines, you can confidently transport your kayak while saving money and ensuring its safety.
Remember, building your own DIY kayak trailer provides the opportunity for customization and functionality. Should you decide to go this route, gather the necessary materials and tools, follow step-by-step instructions, and consider adding additional features to enhance the functionality of your trailer.
If your vehicle doesn’t have a roof rack, don’t worry. There are alternative solutions like using pool noodles, foam blocks, or a hitch-mount carrier. These methods can be just as effective in safely transporting your kayak without the need for a roof rack.
FAQ
Can I build my own DIY kayak trailer?
Yes, building your own DIY kayak trailer can be a rewarding project that offers functionality and customization.
How do I assess my requirements for a DIY kayak trailer?
Assess your specific requirements such as the number of kayaks to transport, weight capacity, and your vehicle’s towing capacity. This will help determine the size, design, and features of your DIY kayak trailer.
What materials and tools do I need to build a DIY kayak trailer?
You will need items such as a steel or aluminum frame, axle and wheels, suspension system, plywood or metal for the trailer bed, fasteners, wiring and lighting equipment, safety chains, and hitch couplers.
How do I build a DIY kayak trailer?
Follow the step-by-step instructions to build your DIY kayak trailer, including frame construction, installing the axle, wheels, and suspension, building the trailer bed, wiring and lighting, and adding additional features.
What are alternative options for transporting a kayak without a roof rack?
Consider using pool noodles to create a makeshift roof rack, using foam blocks, or utilizing a hitch-mount carrier.
How do I secure my kayak during transportation?
Secure your kayak by using ratchet straps or cam straps. Ratchet straps provide a tight fit and are suitable for heavy loads, while cam straps are easier to adjust and less likely to cause damage.
Can I build my own DIY roof rack for my kayak?
Yes, you can build your own DIY roof rack using PVC pipes or wood to suit your specific needs.
What are the benefits of DIY kayak transport solutions?
DIY kayak transport solutions offer cost-effectiveness and customization options, allowing you to save money and ensure the safety of your kayak during transportation.